Cosmo
$500.00Our Cosmo Auto Curler will satisfy your inner curl fanatic! This professional curler’s Tourmaline barrels will help to seal moisture into the hair and deliver frizz-free styles with shine.


Infrared Breeze
$500.00Quickly create salon worthy hair in a breeze with our new Infrared Breeze Air Styler. Designed to style and set with every pass so your look lasts all day.

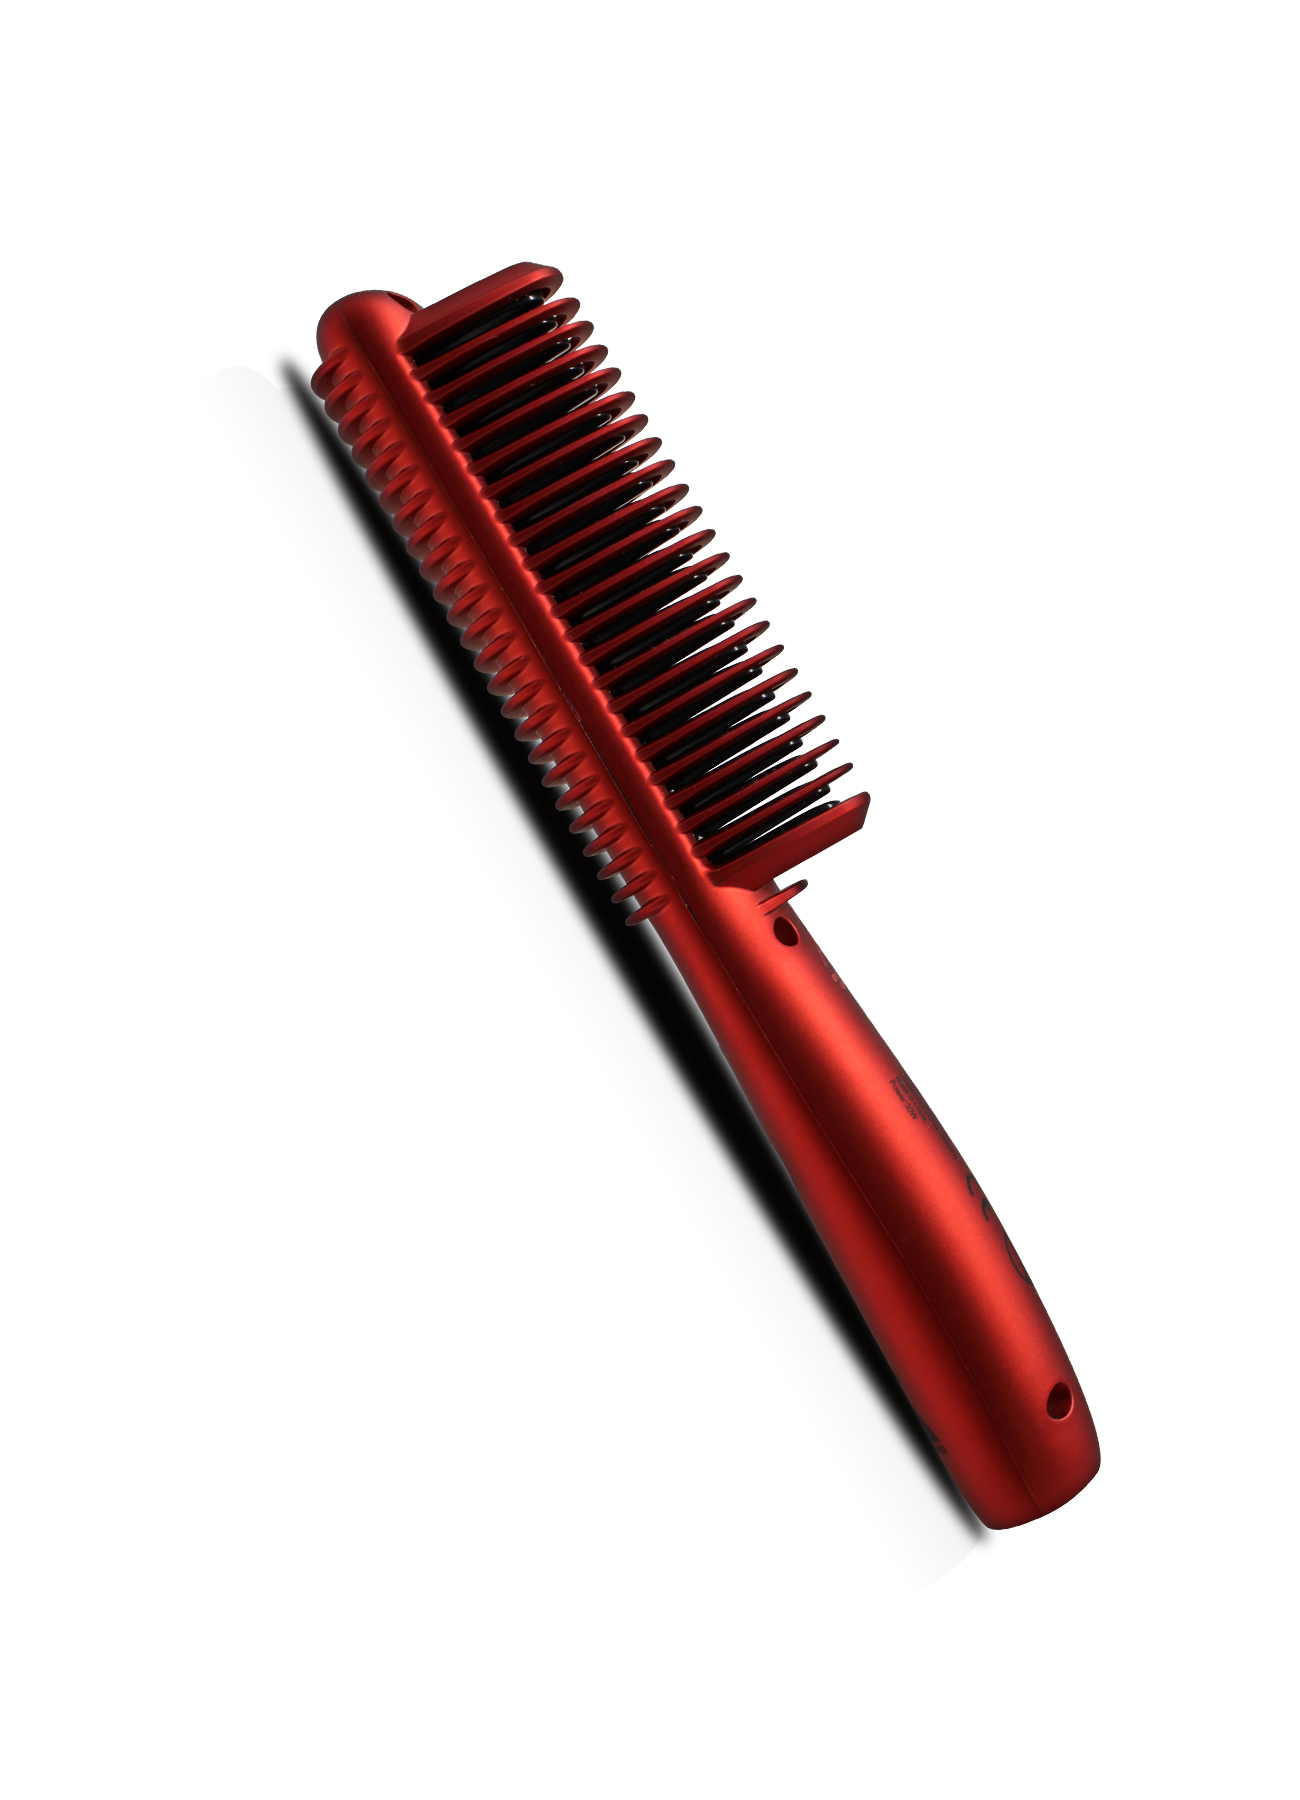
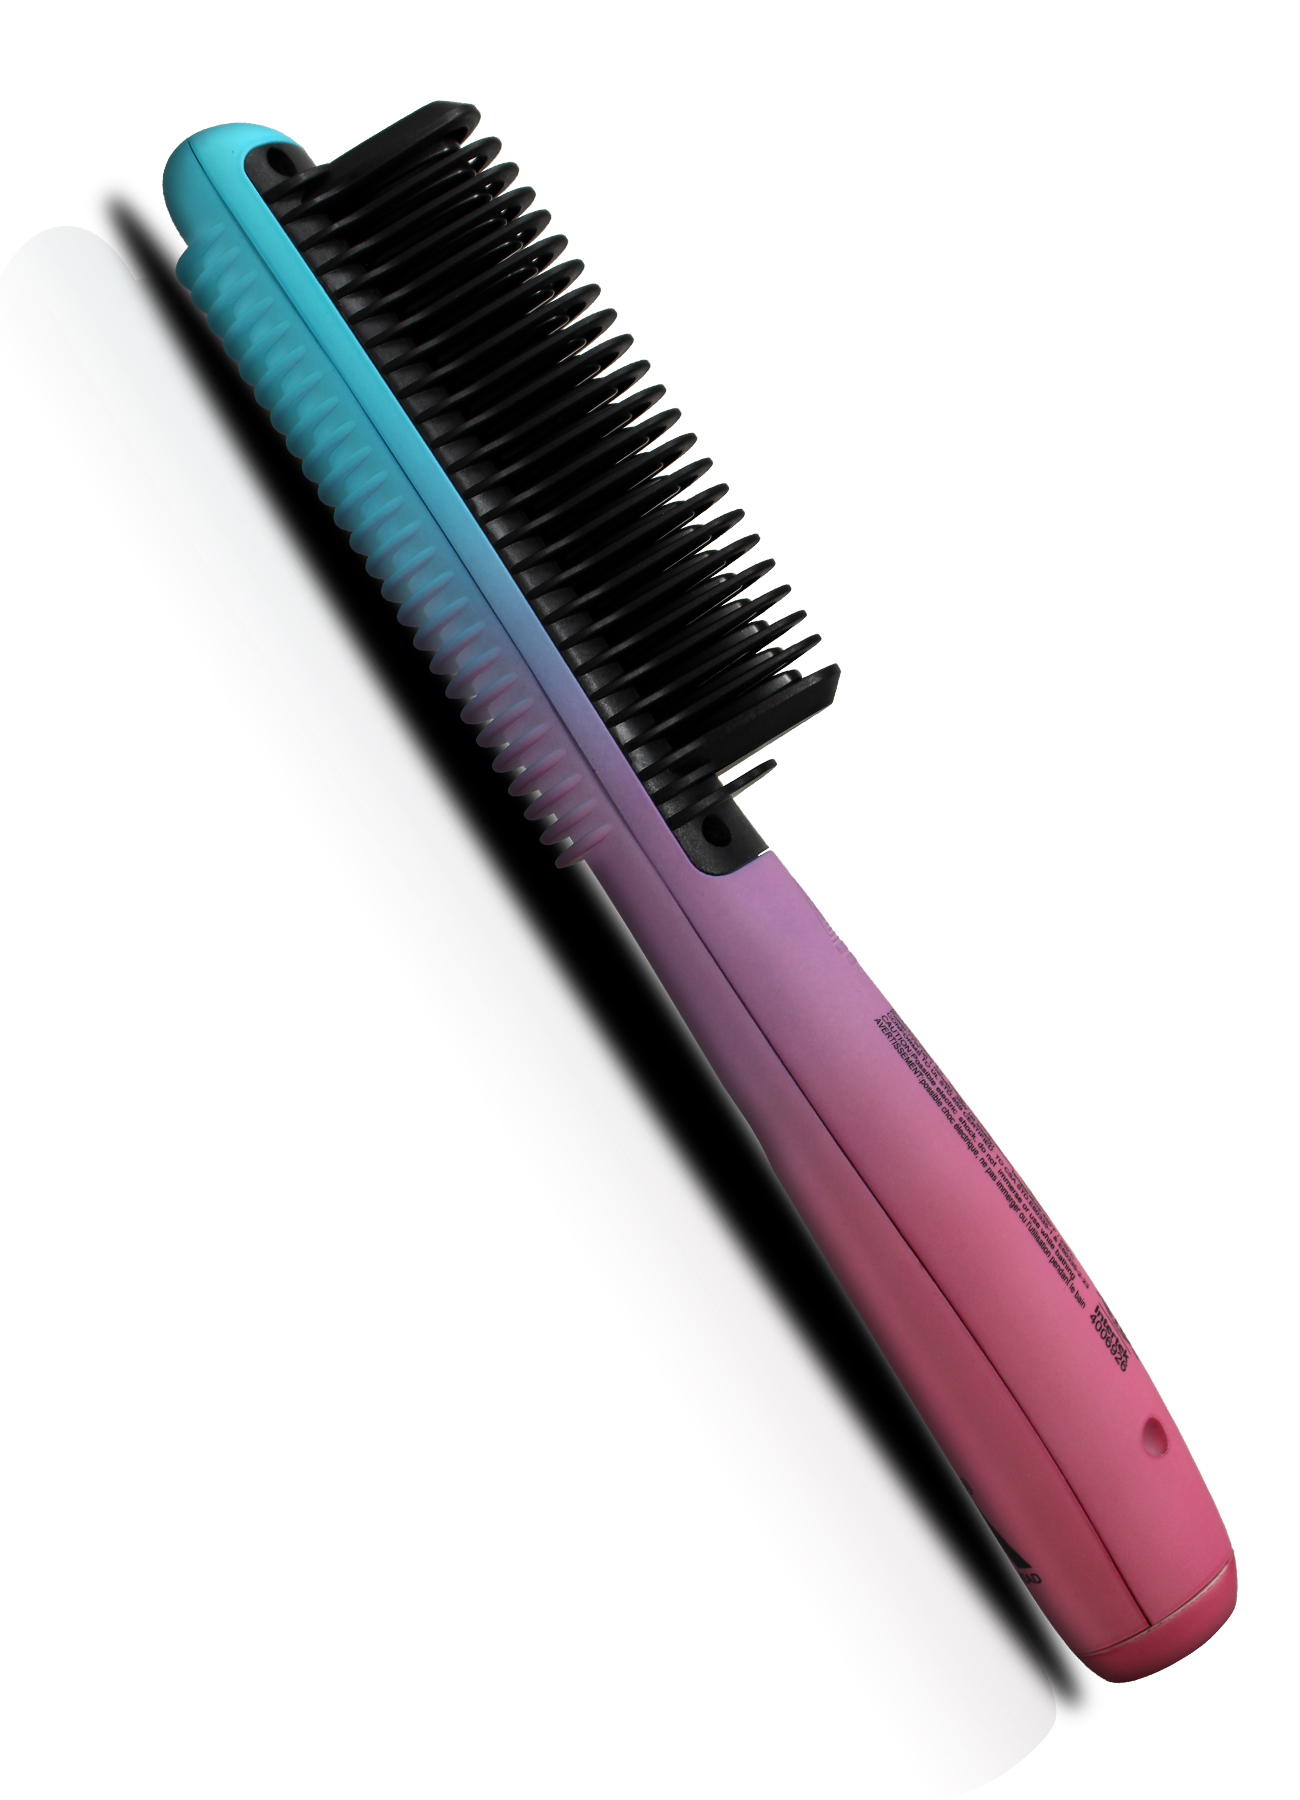
Pro Glider 2.0
$450.00Our new and improved Pro Glider 2.0 is a 4-in-1 slim styling comb that massages the scalp, detangles, straightens and curls hair.
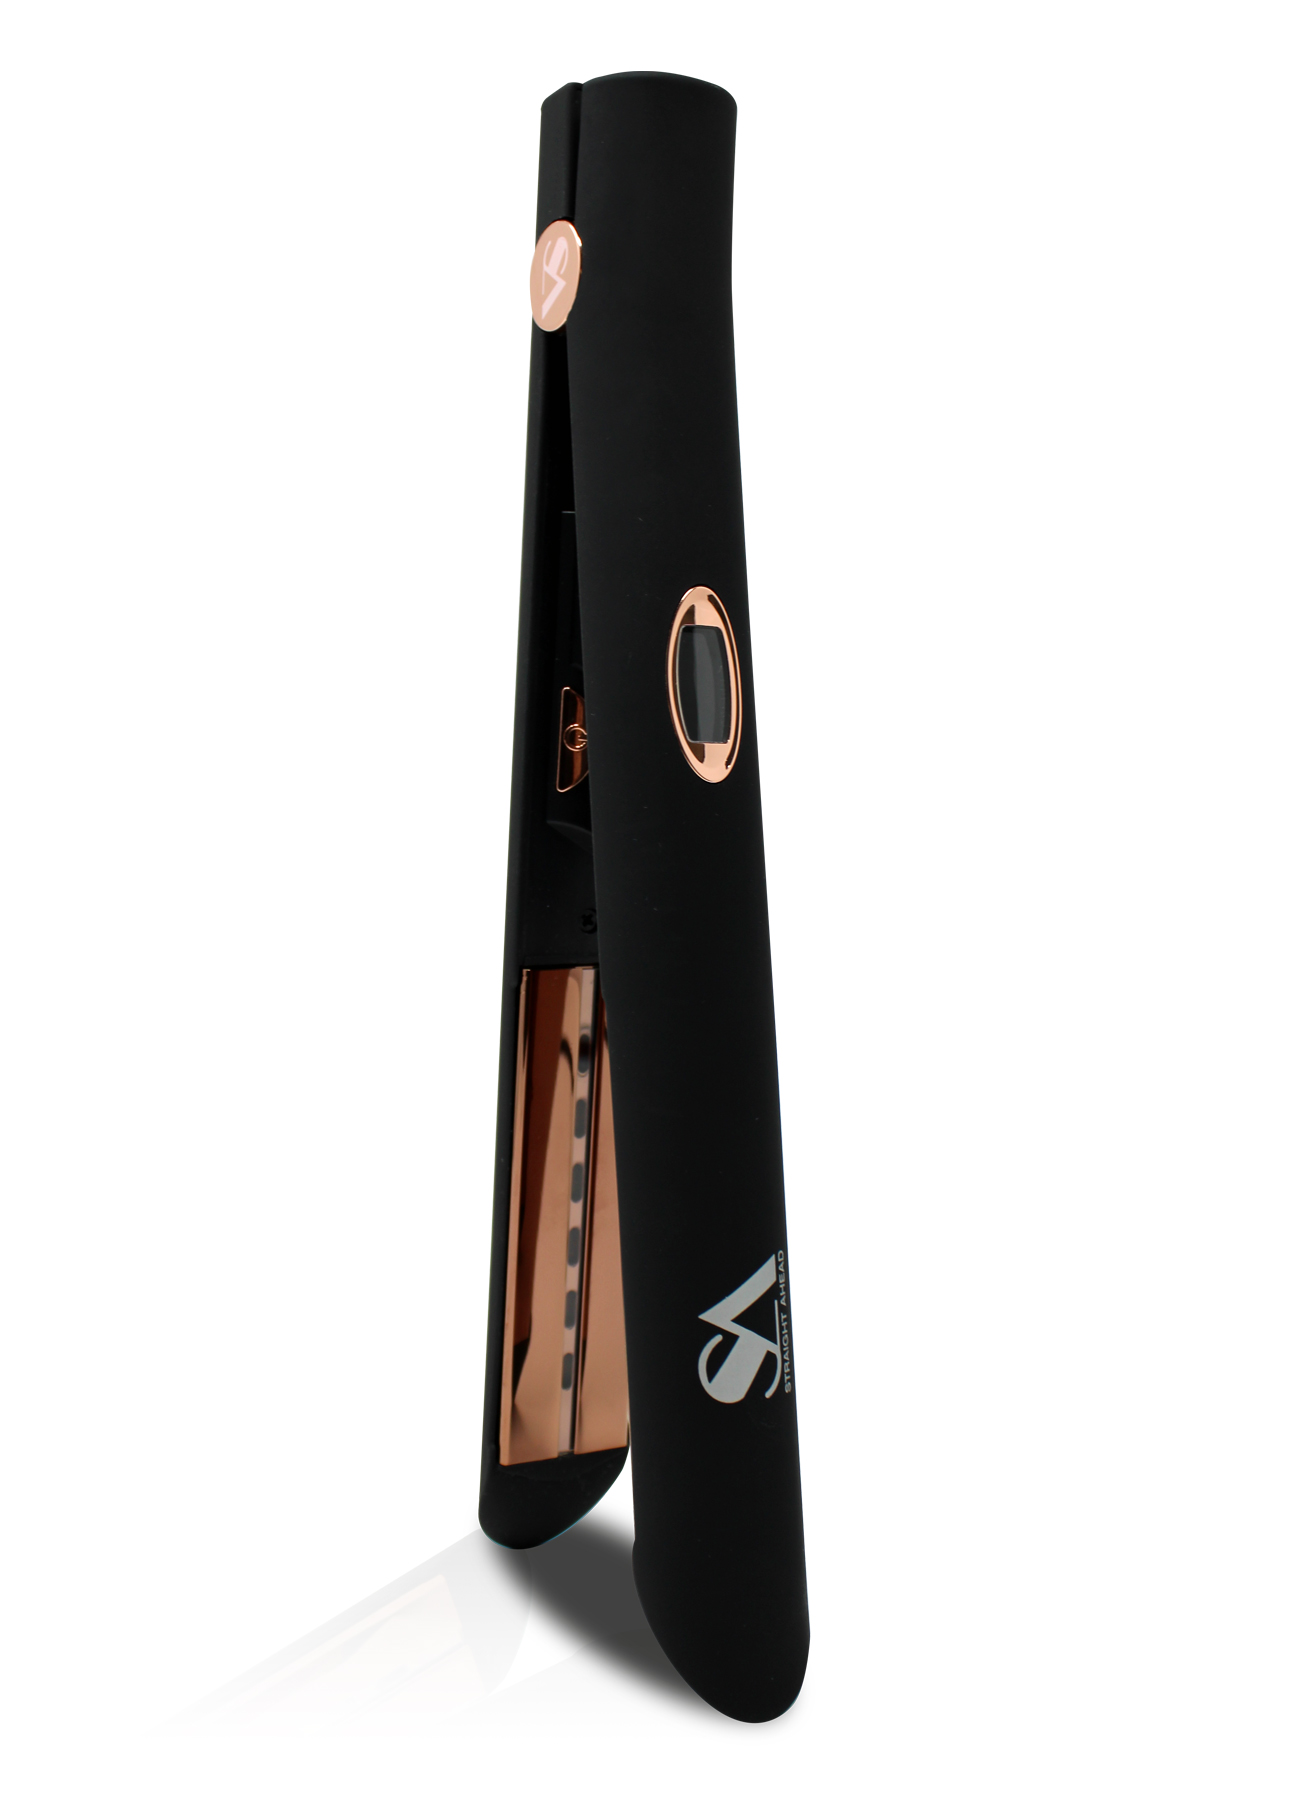
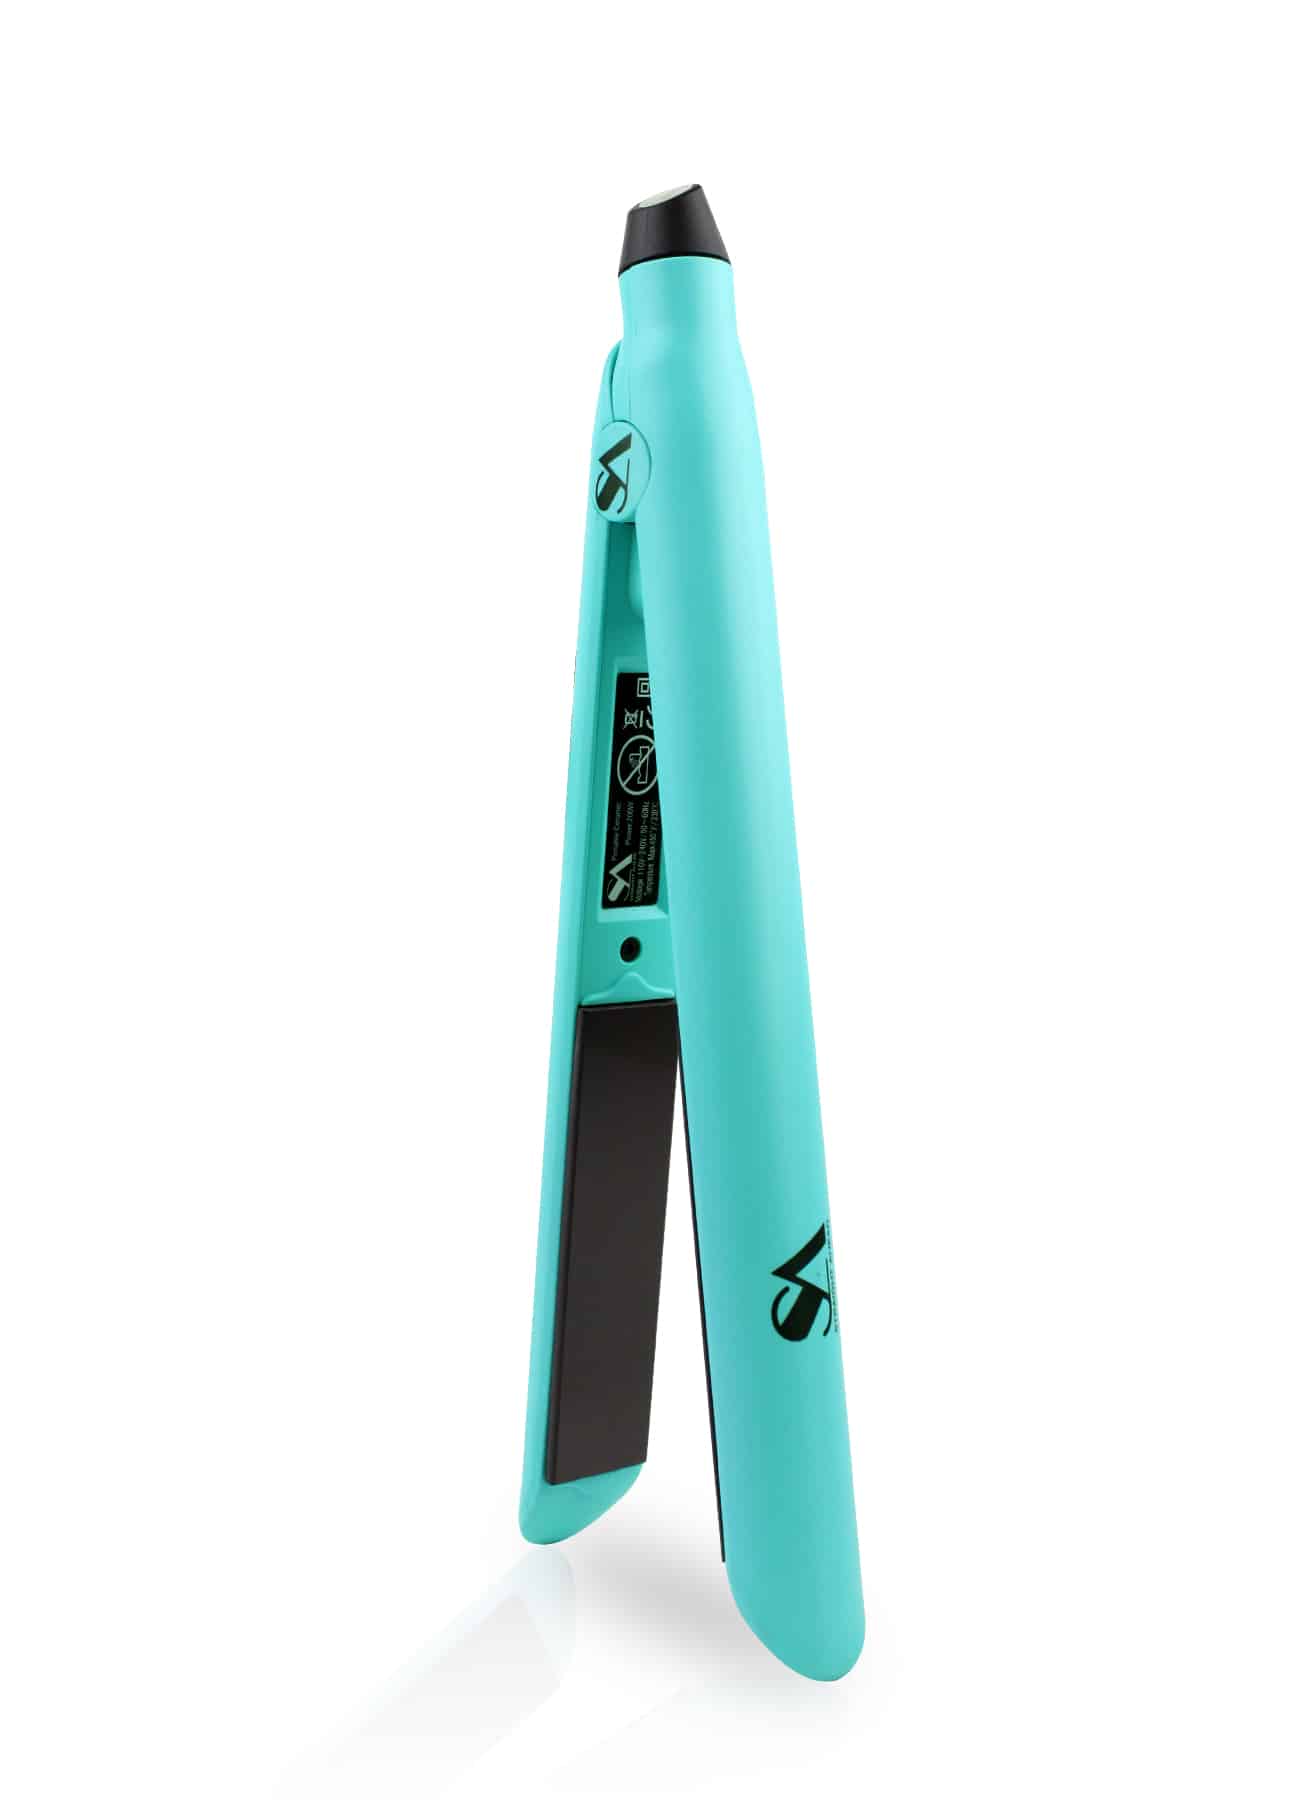
Quantum Infrared
$500.00SA’s cutting-edge Quantum Infrared Flat Iron uses real Far Infrared light to generate heat which has a longer wavelength than conventional heat so the hair is done in half the time.
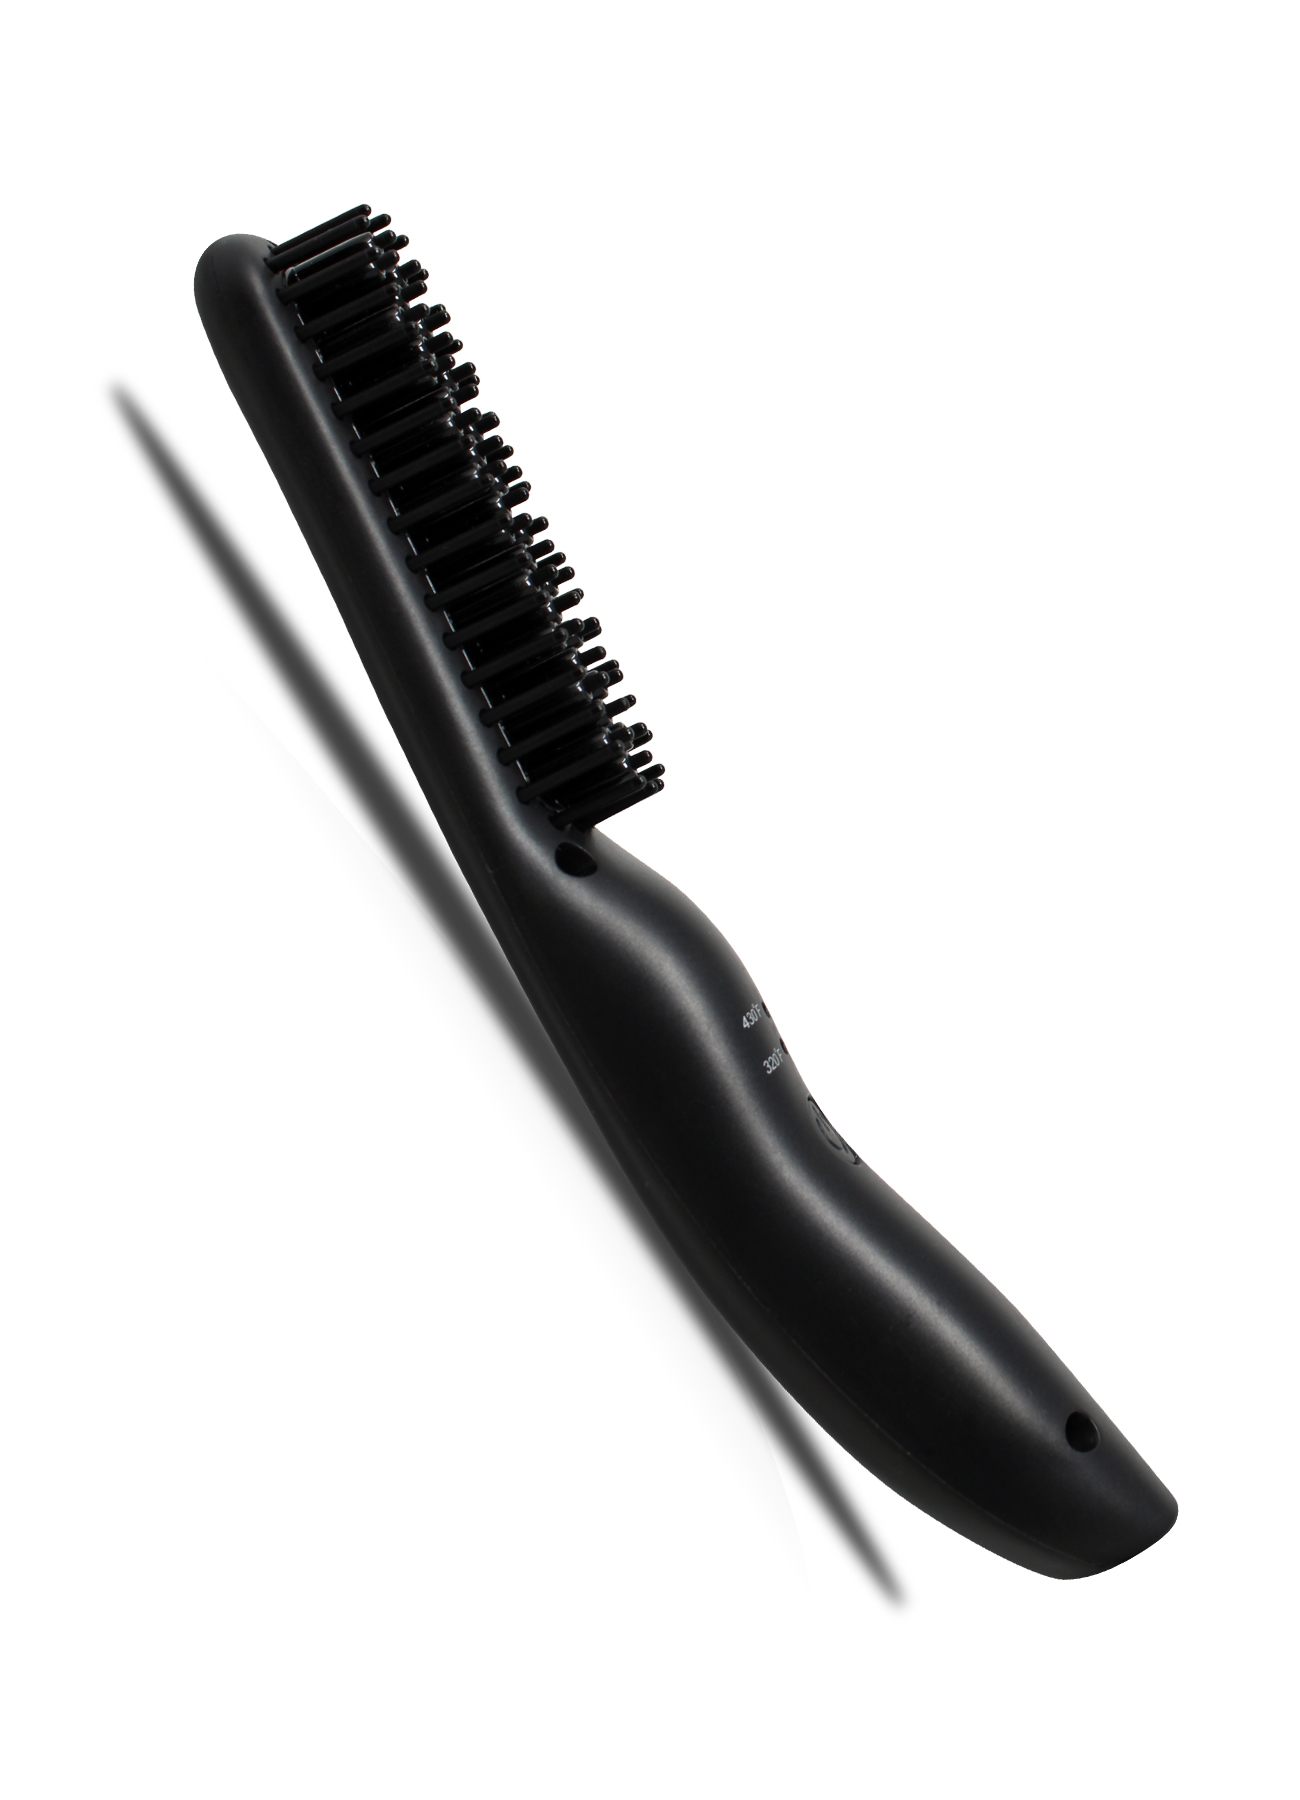
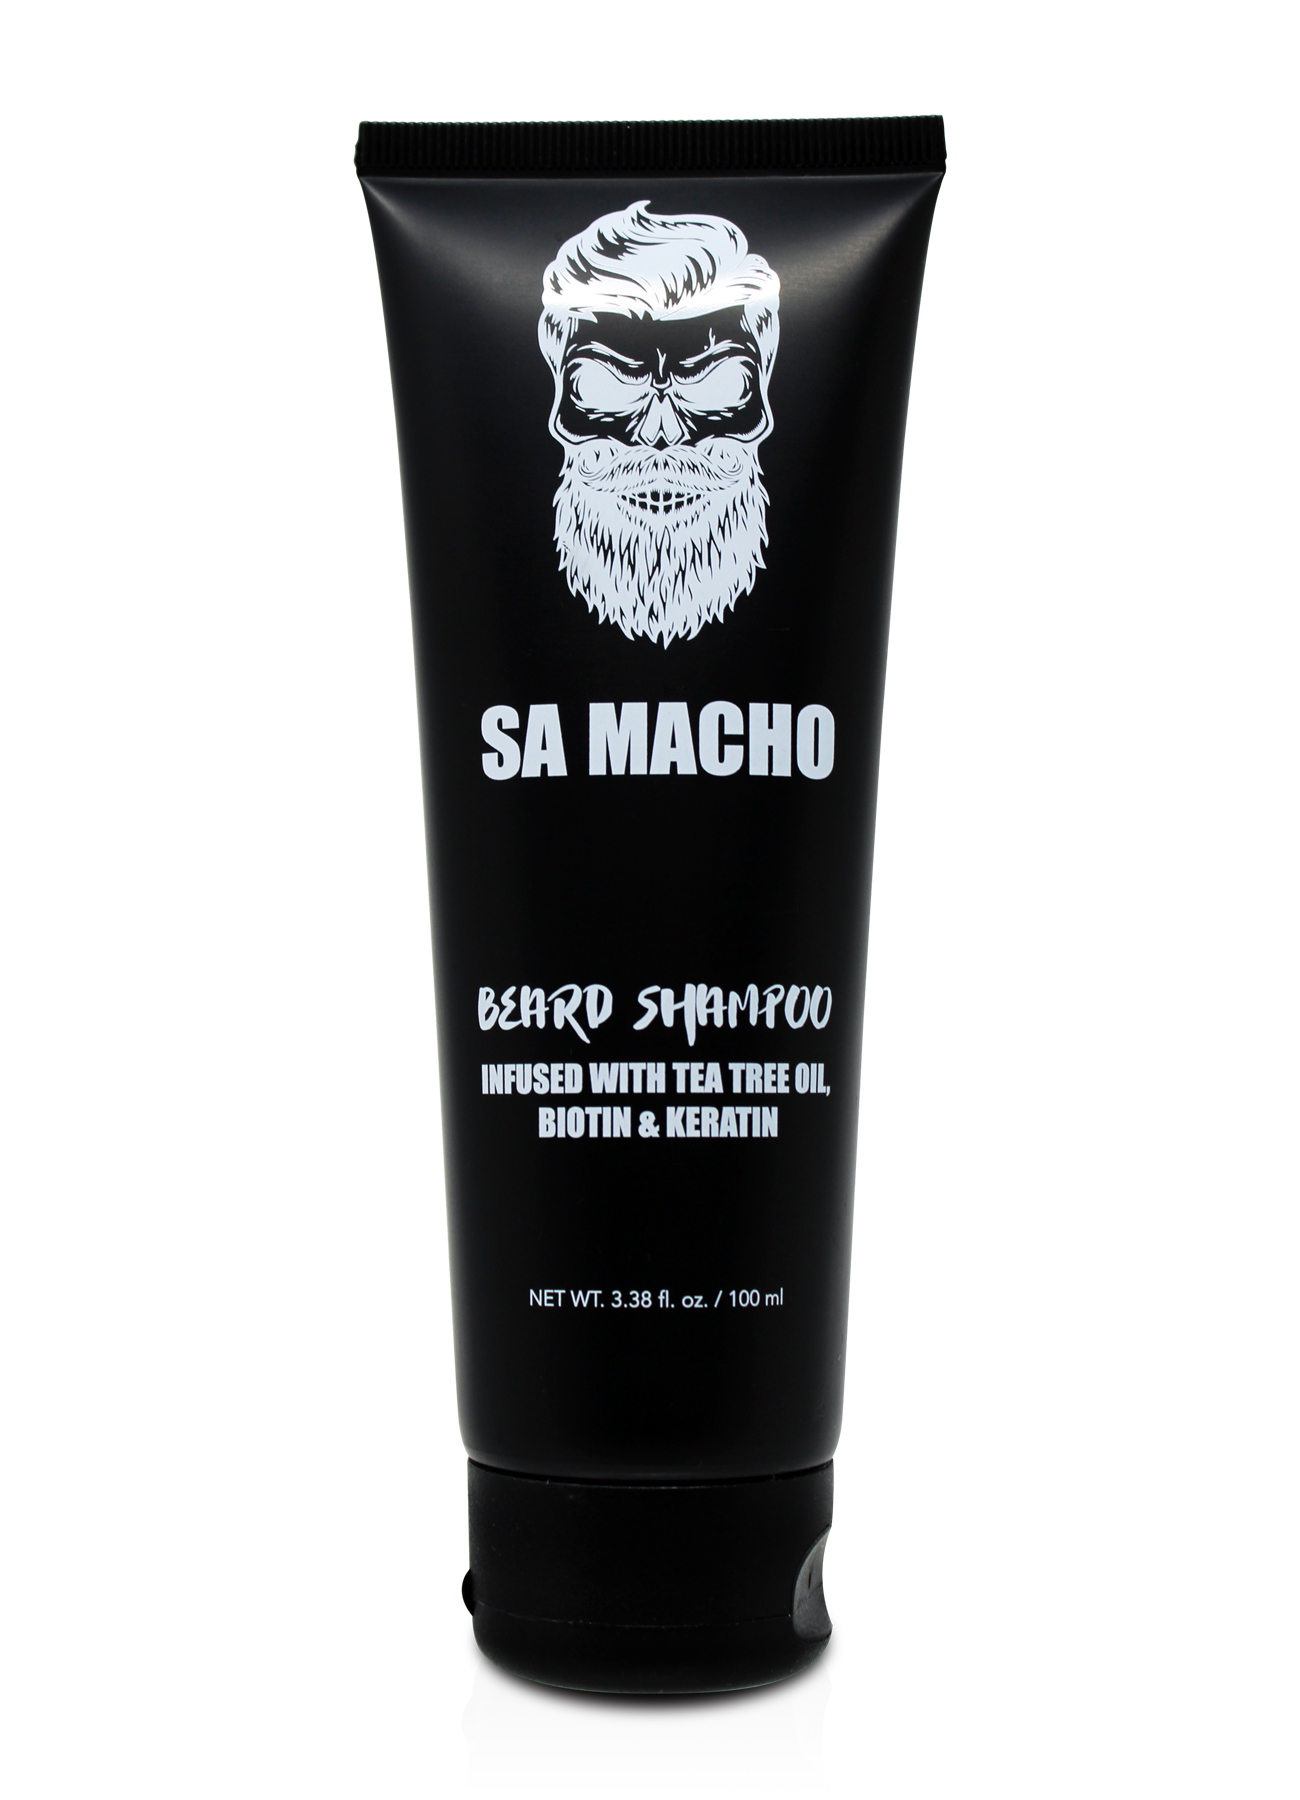
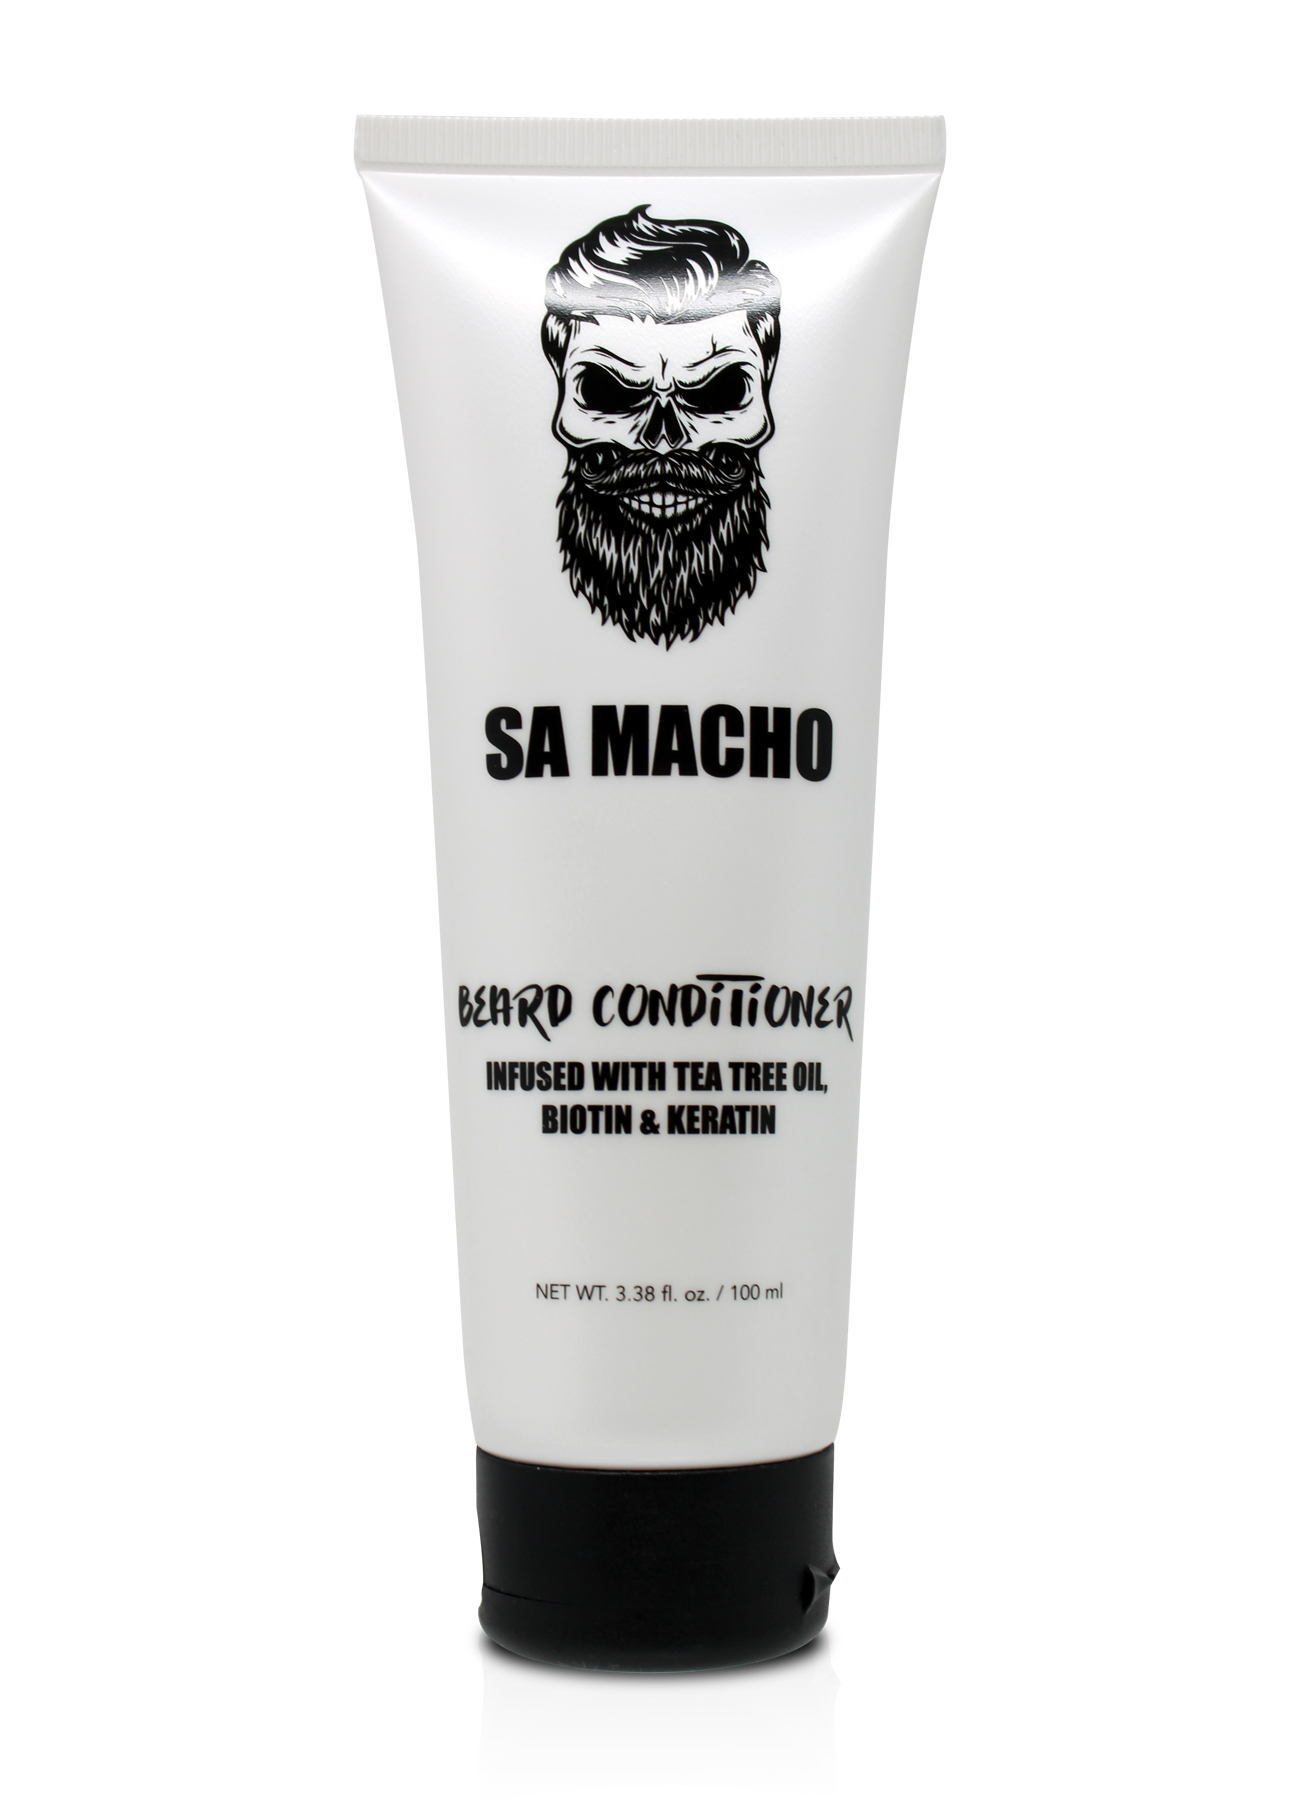
SA Macho 2.0
$350.00From the comfort grip handle to the massaging straightening bristles, The Macho 2.0 beard and hair straightener was designed to deliver superior styling power in the palm of your hand.

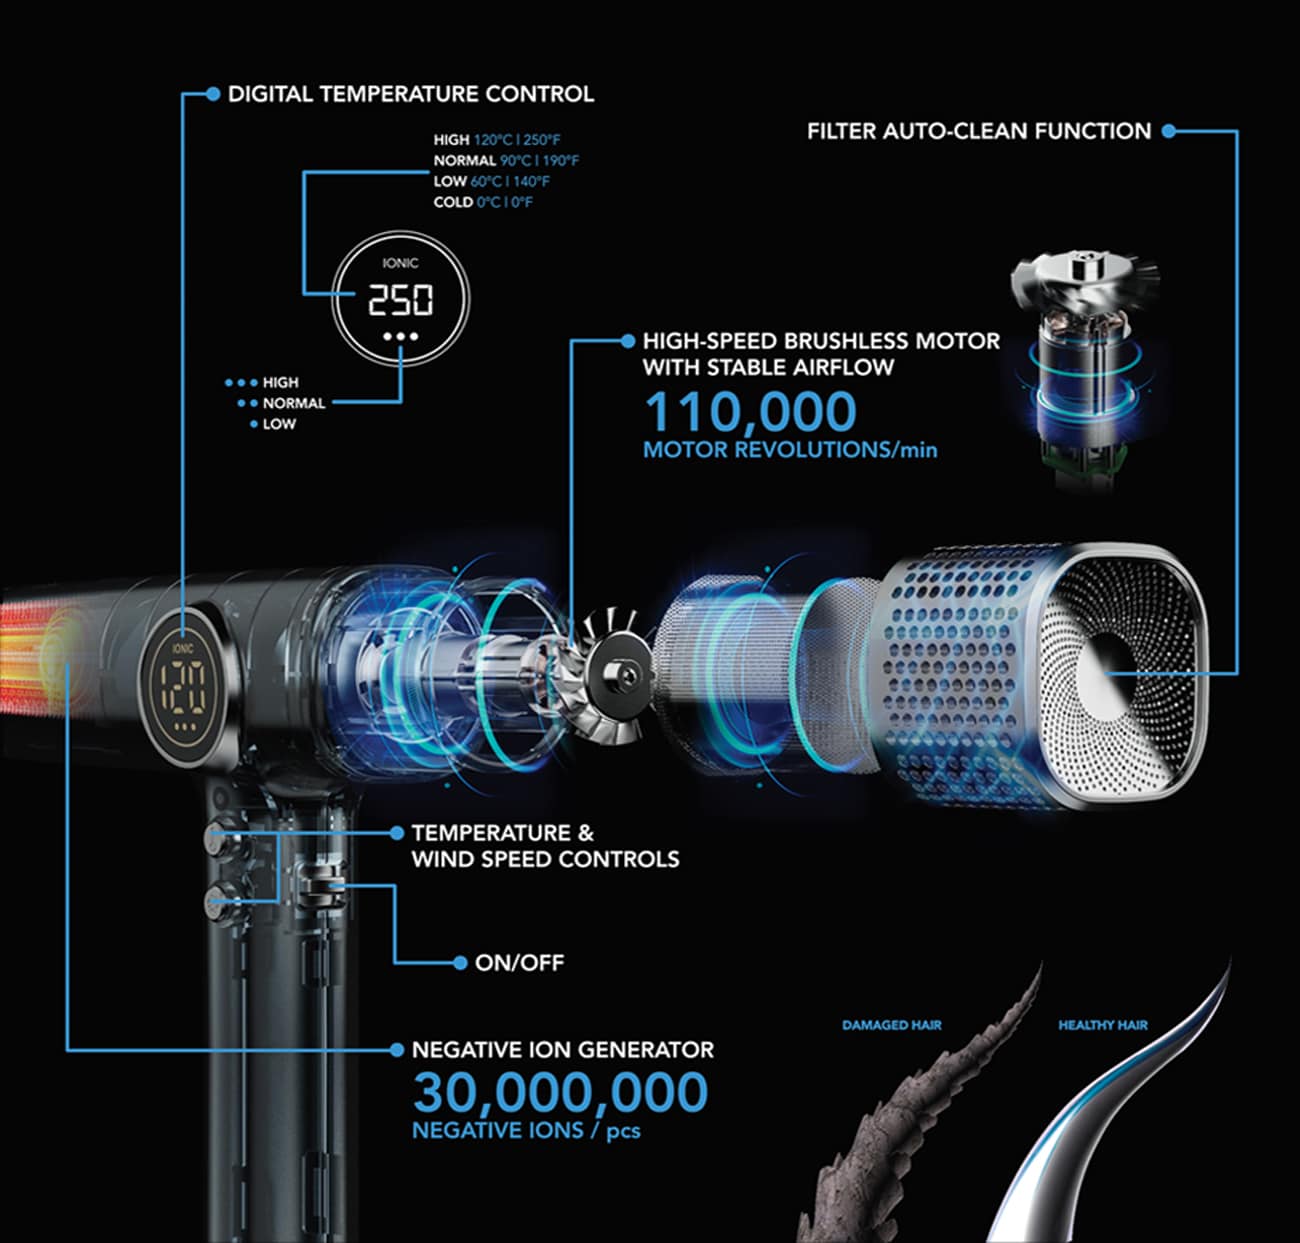
Salon Supersonic Breeze Digital Intelligent Blow Dryer
$780.00The Salon Super Sonic blow dryer is the new evolution of styling technology. Featuring a Digital Intelligent Temperature Display with three heat and speed settings plus a cool blast feature to set your look.

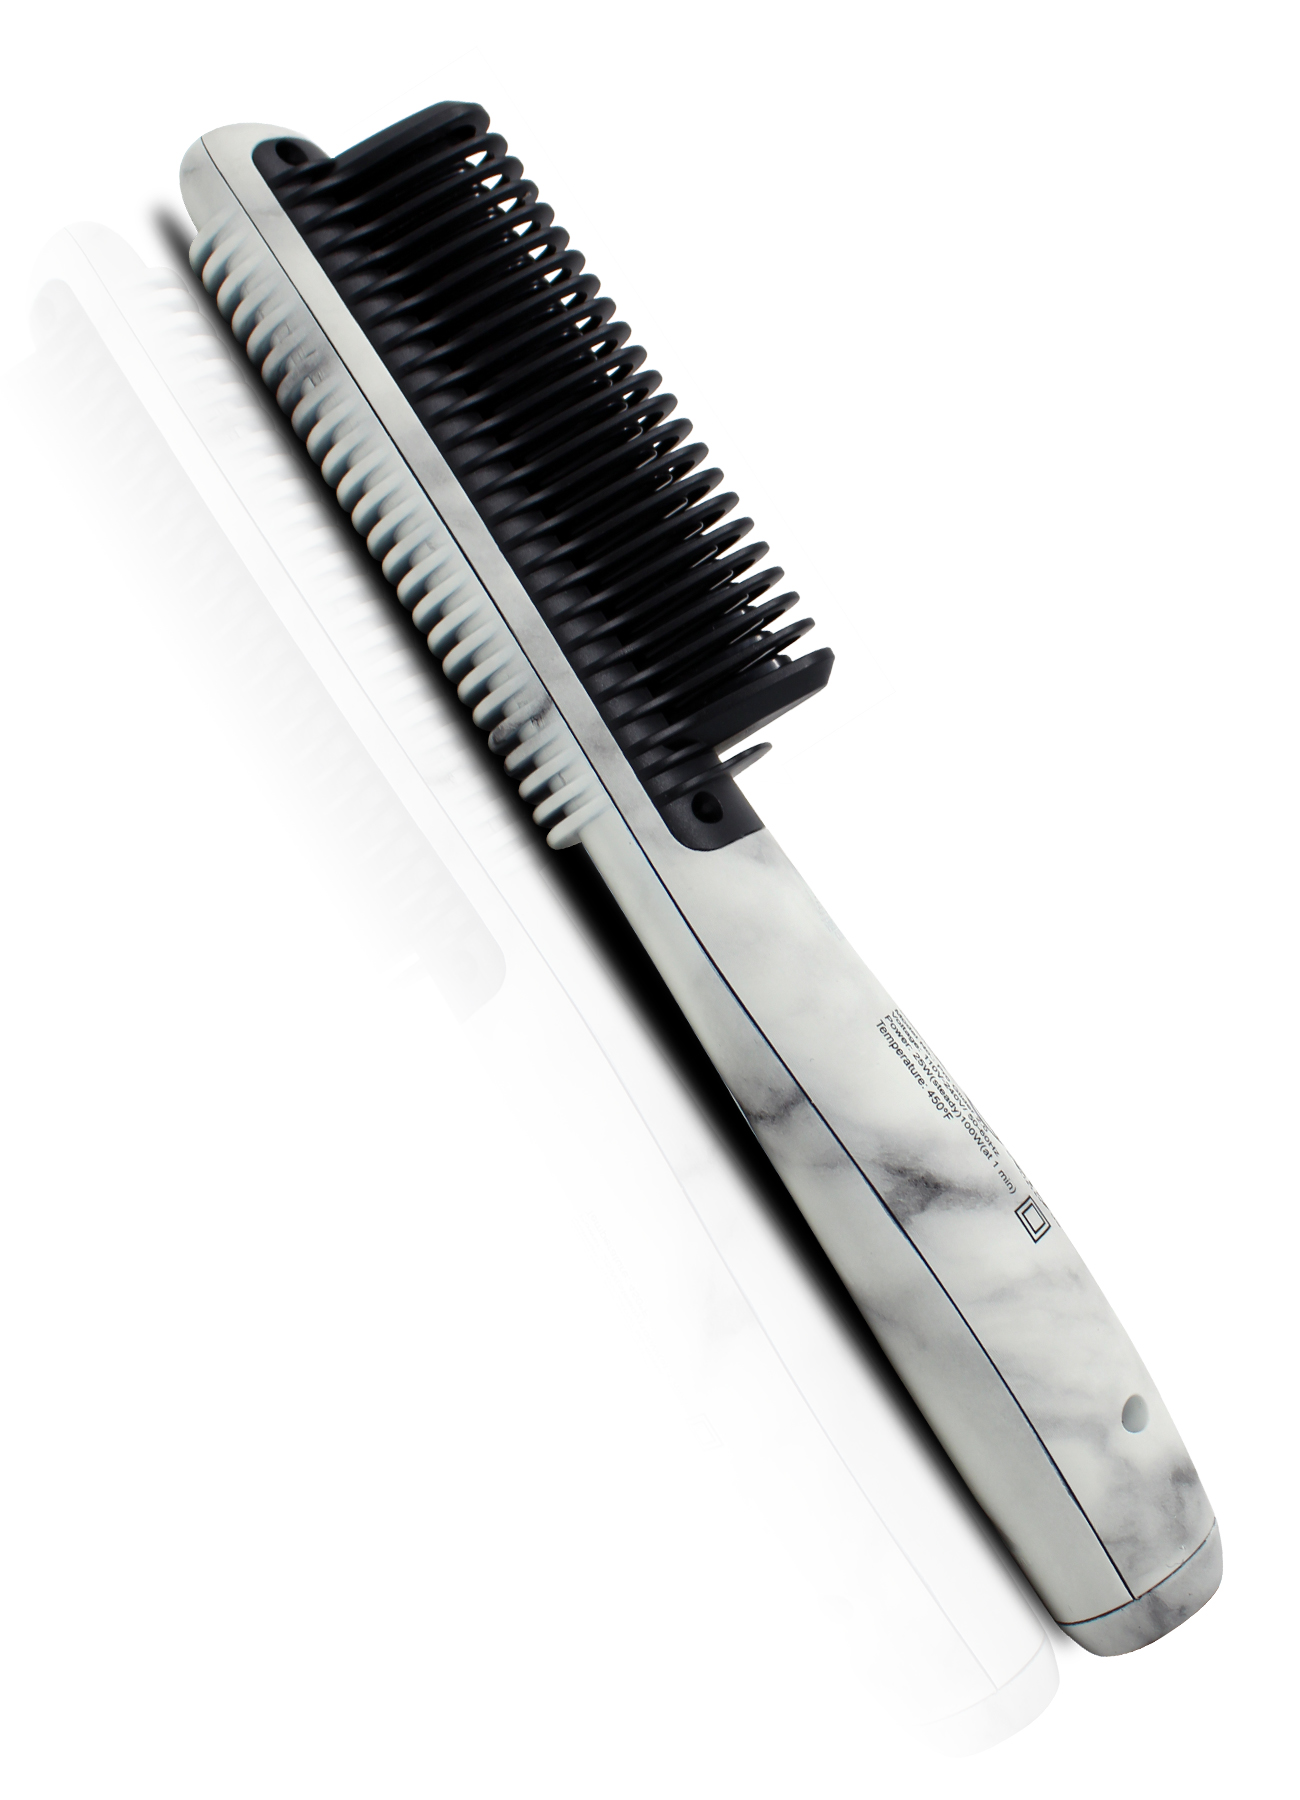
Pro Glider 2.0
$450.00Our new and improved Pro Glider 2.0 is a 4-in-1 slim styling comb that massages the scalp, detangles, straightens and curls hair.
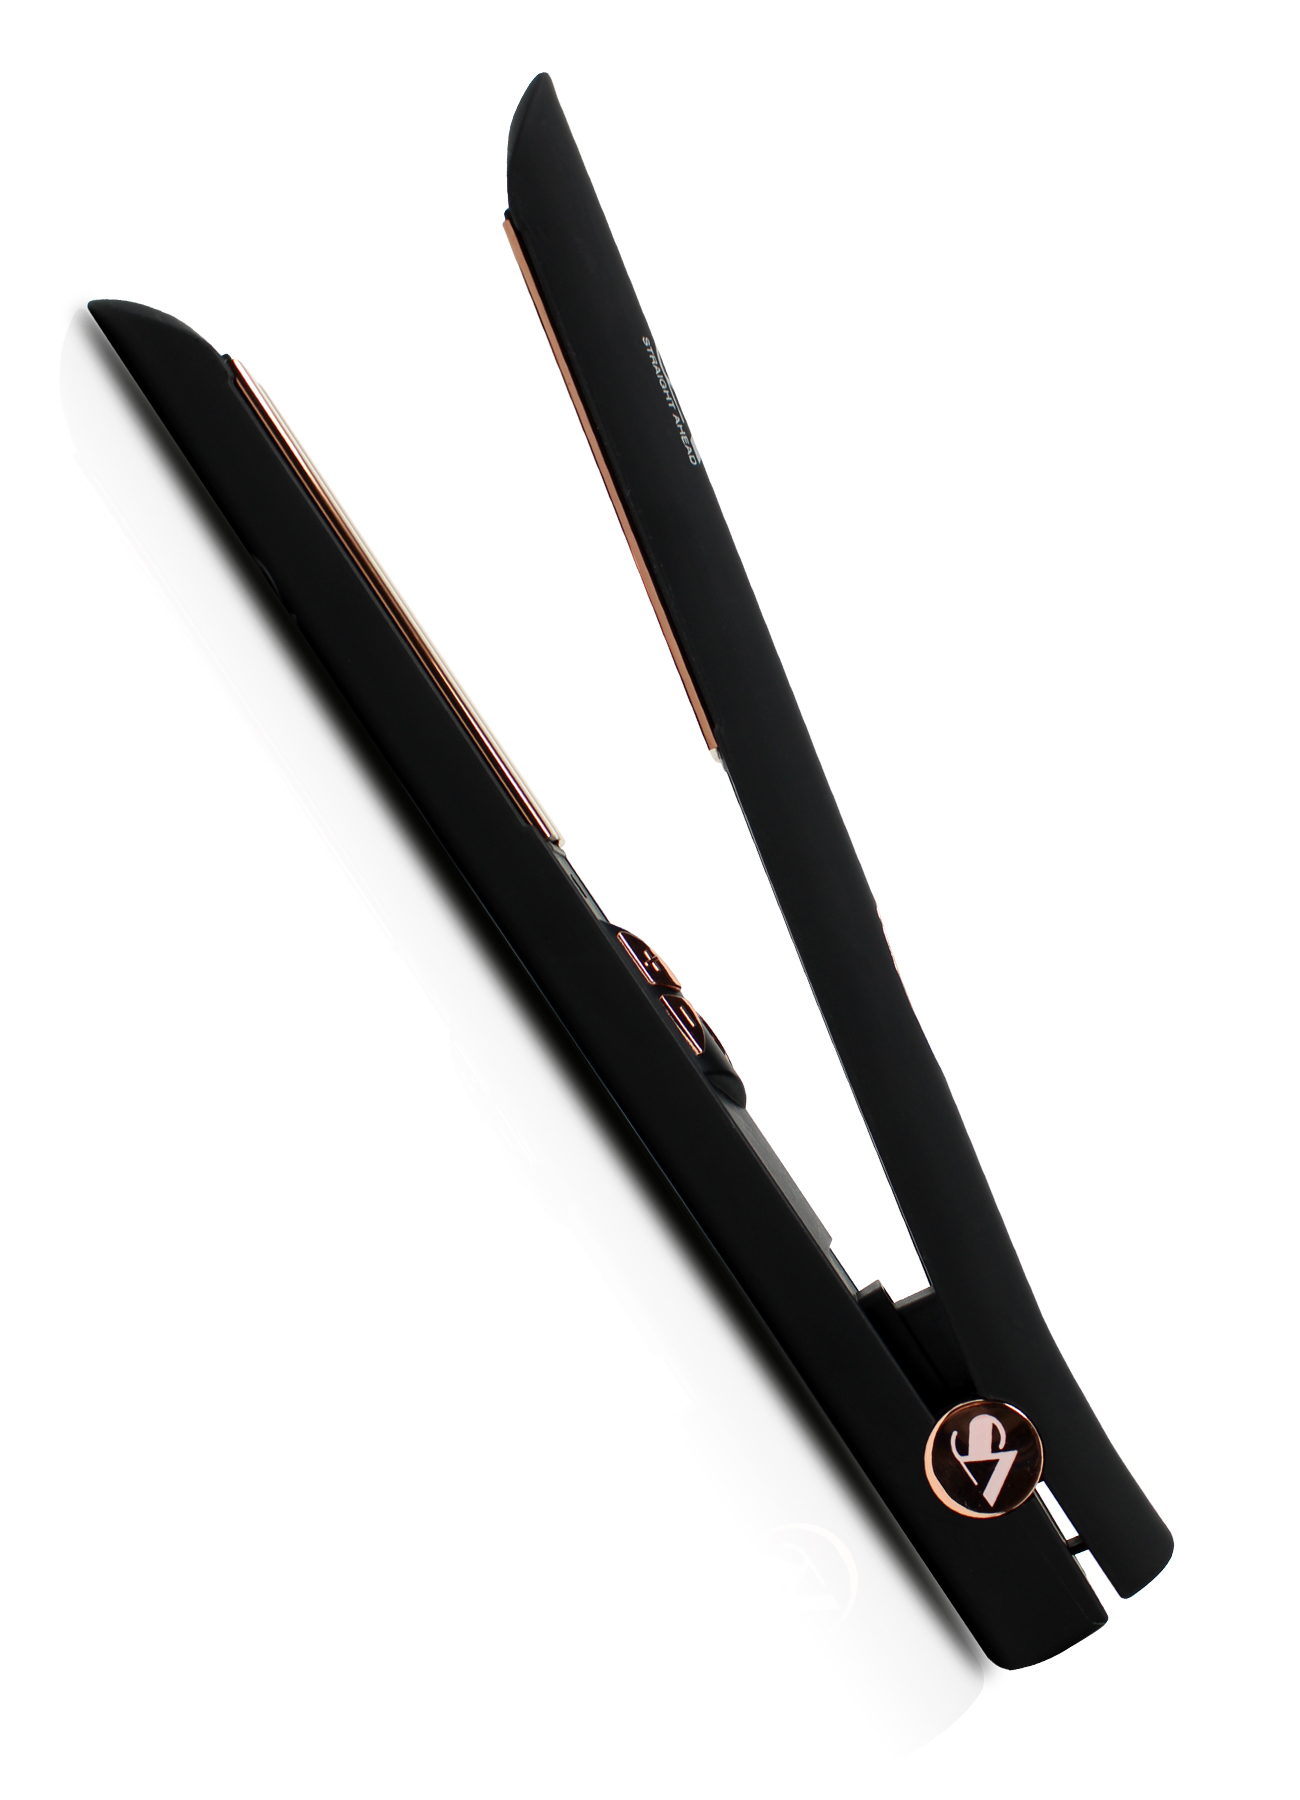
Quantum Infrared
$500.00SA’s cutting-edge Quantum Infrared Flat Iron uses real Far Infrared light to generate heat which has a longer wavelength than conventional heat so the hair is done in half the time.
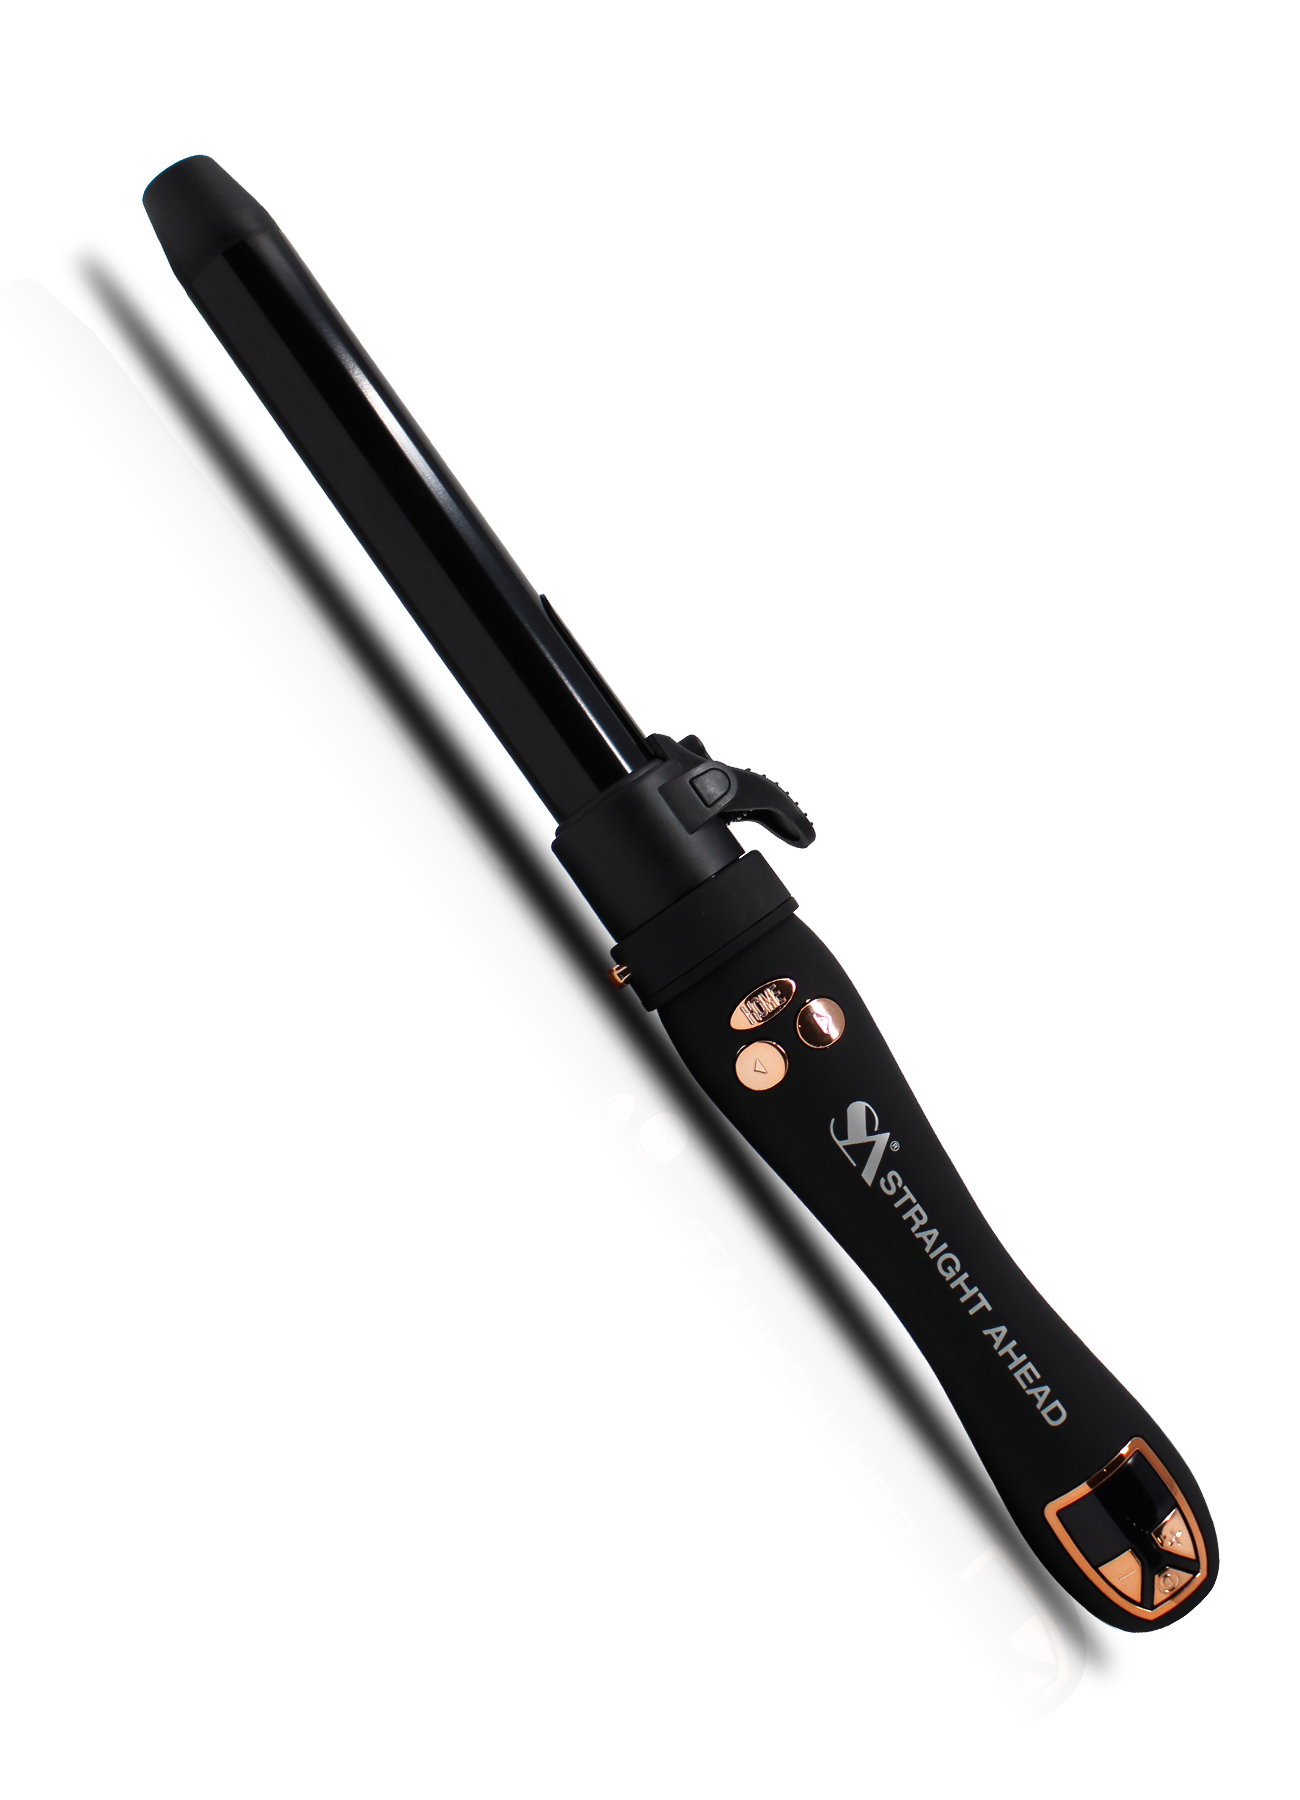
Cosmo
$500.00Our Cosmo Auto Curler will satisfy your inner curl fanatic! This professional curler’s Tourmaline barrels will help to seal moisture into the hair and deliver frizz-free styles with shine.
Infrared Breeze
$500.00Quickly create salon worthy hair in a breeze with our new Infrared Breeze Air Styler. Designed to style and set with every pass so your look lasts all day.
SA Macho 2.0
$350.00From the comfort grip handle to the massaging straightening bristles, The Macho 2.0 beard and hair straightener was designed to deliver superior styling power in the palm of your hand.
Salon Supersonic Breeze Digital Intelligent Blow Dryer
$780.00The Salon Super Sonic blow dryer is the new evolution of styling technology. Featuring a Digital Intelligent Temperature Display with three heat and speed settings plus a cool blast feature to set your look.
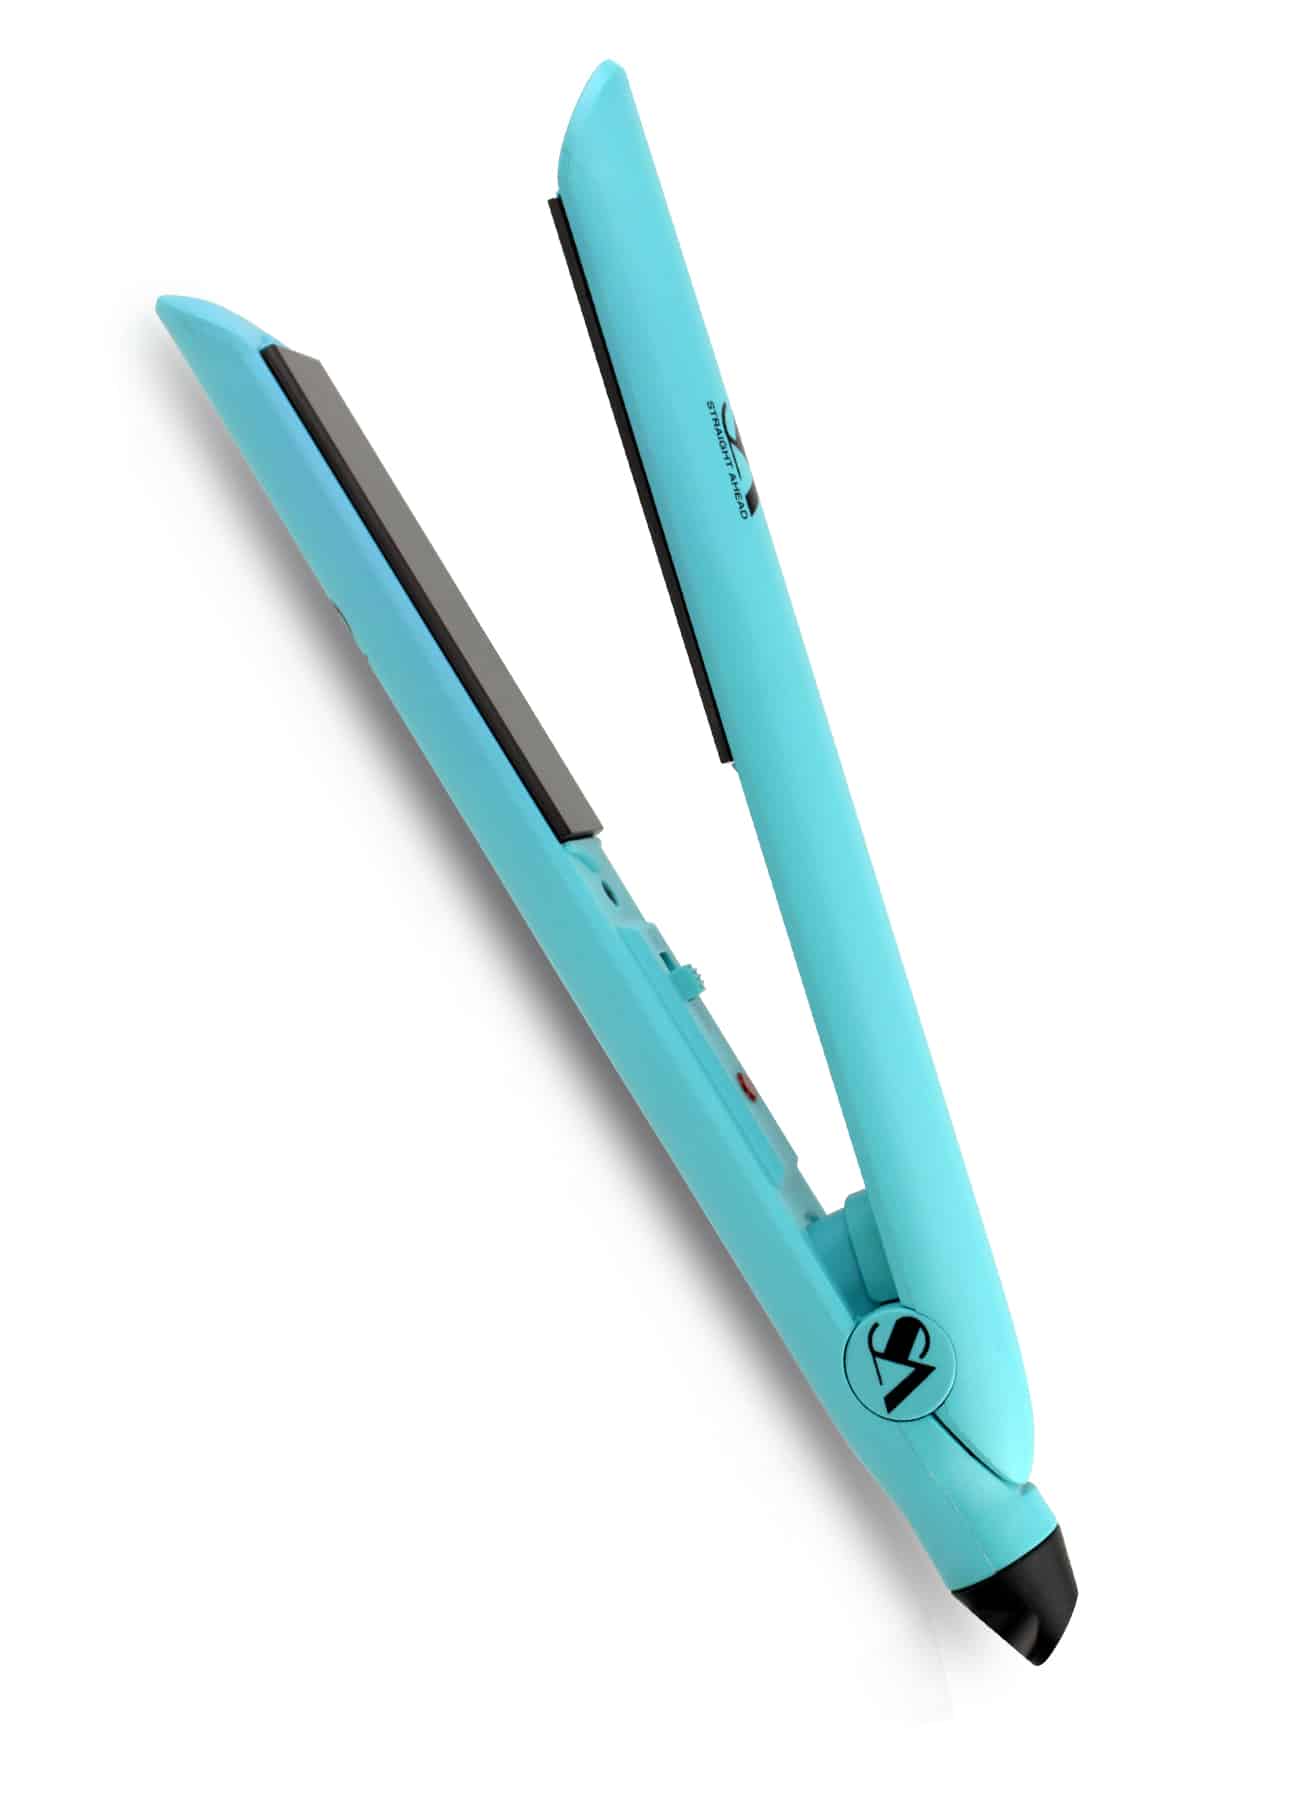
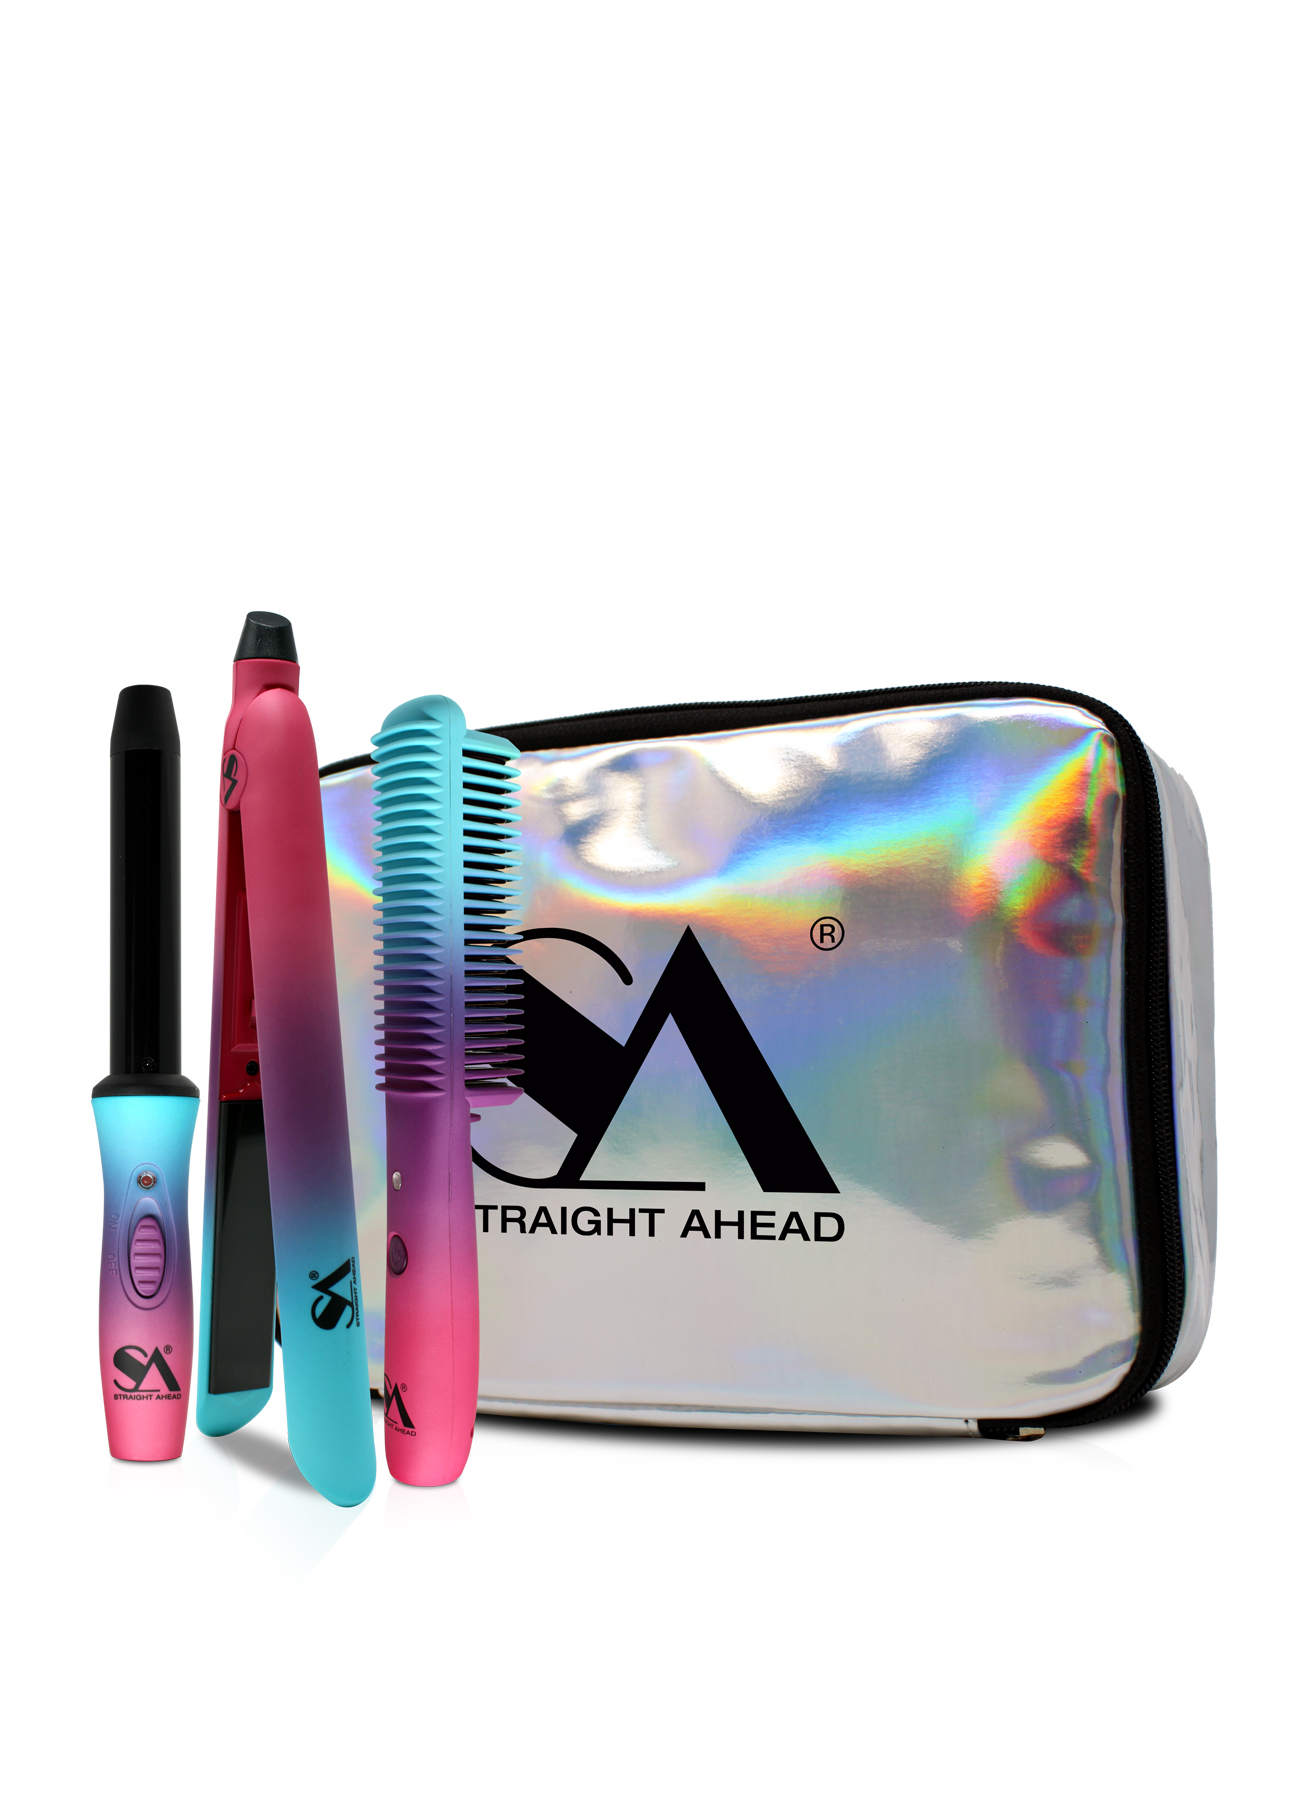
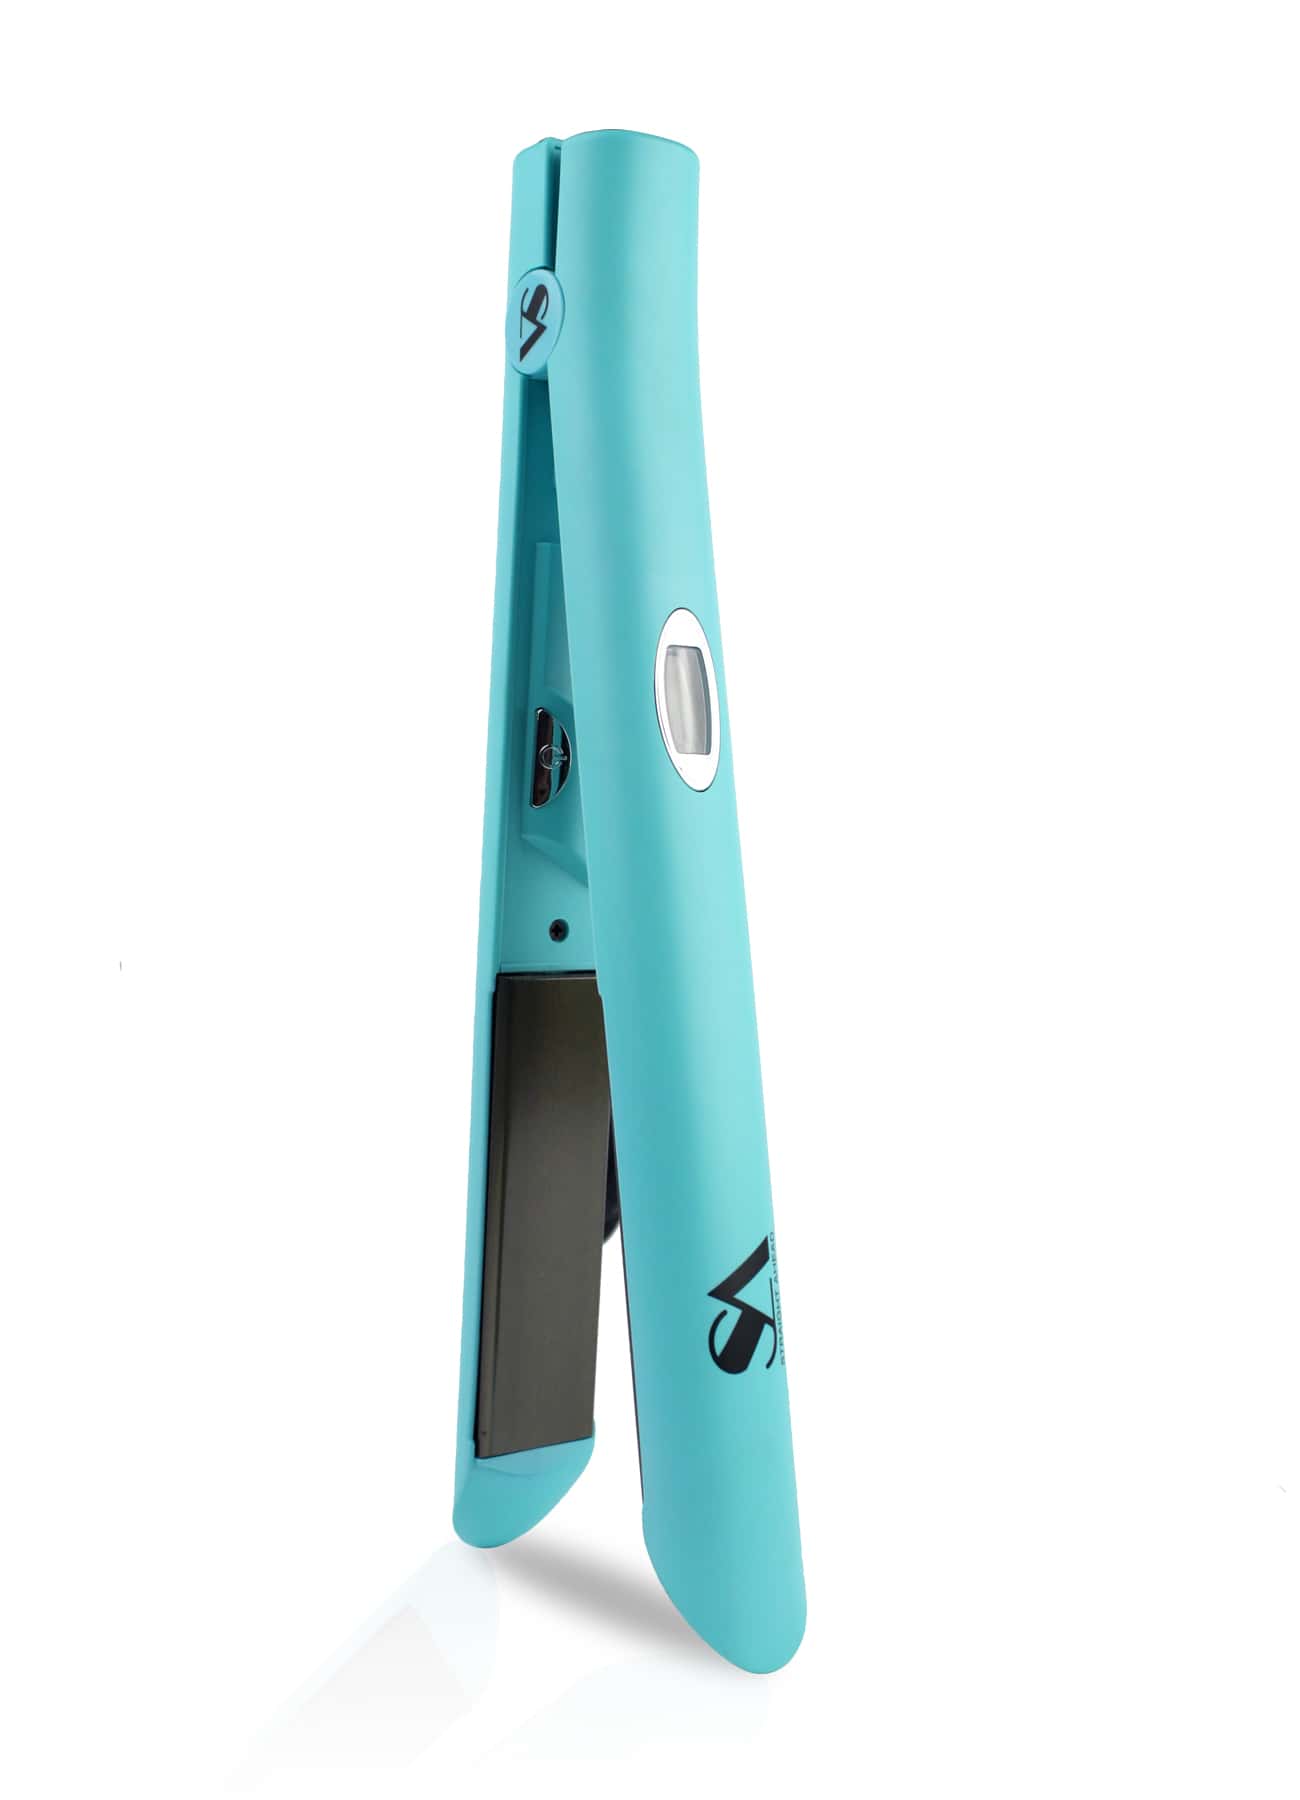
0.9″ Ceramic Portable Straightener
$250.00Straight Ahead is proud to introduce our challenging-the-status-quo portable and mini hair straighteners.
1″ Hybrid Pro Titanium
$450.00Our Hybrid Pro Titanium is the next generation, breakthrough in hair styling. Combining the power of a ceramic heater for quick heat up & faster recovery time and ultra-smooth floating titanium plates that glide effortlessly with less puling.


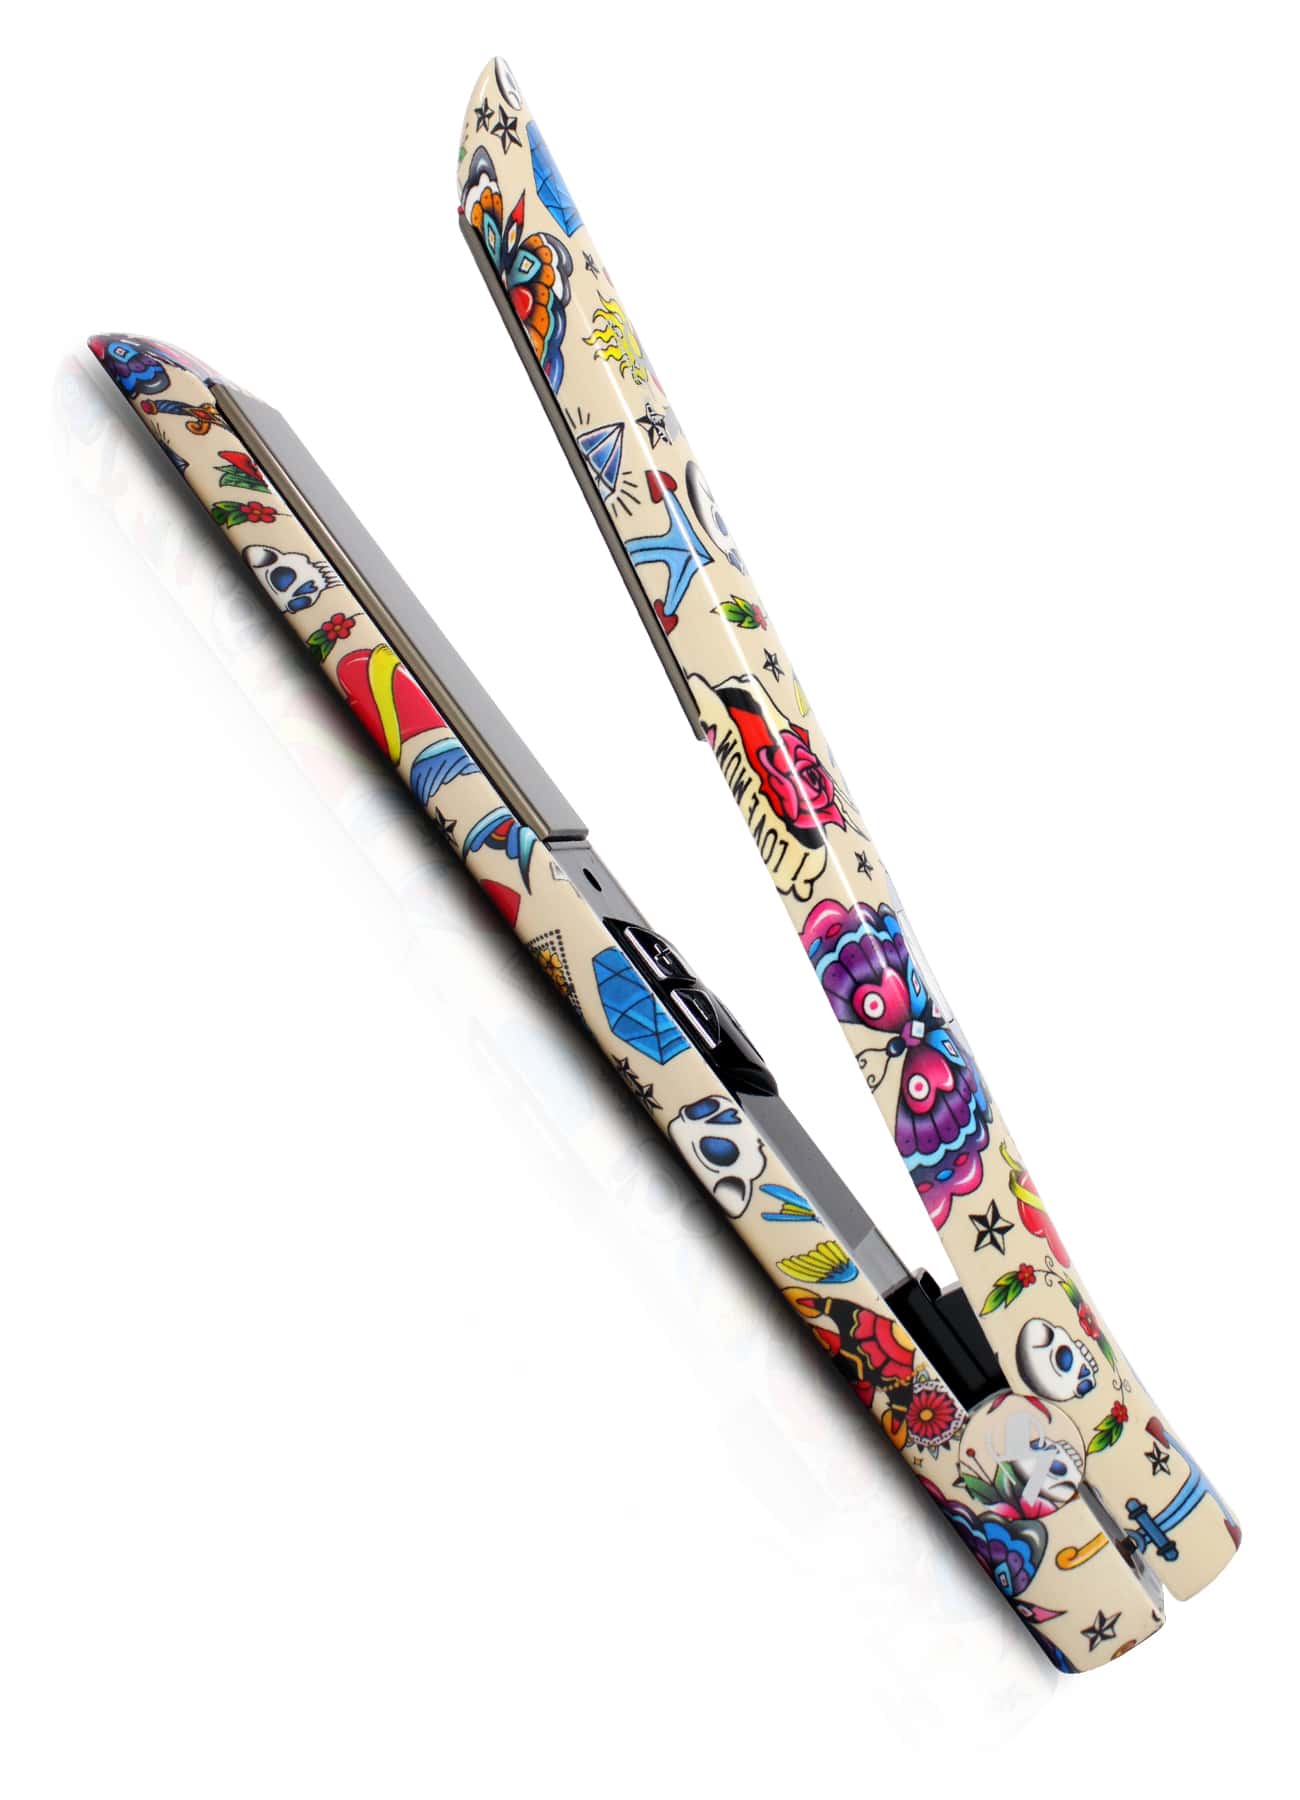
1″ Premium Titanium
$470.00One of our most innovative styling tools, the Premium Titanium Flat Iron delivers shinier hair with every pass. Since they offer the most efficient and even heat distribution, our salon-grade Titanium Flat Irons are also ideal for use during and after Brazilian Keratin Treatments. The combination of that along with its cool tips and pro...

Portable Glider
$300.00Our distinctive, 4-in-1 slim styling comb is now available in a travel size! The Portable Glider massages the scalp, detangles, straightens and curls hair

Pro Glider 1.0
$500.00Our distinctive, 4-in-1 slim styling comb massages the scalp, detangles, straightens and curls hair.
Salon Supersonic Breeze Digital Intelligent Blow Dryer
$780.00The Salon Super Sonic blow dryer is the new evolution of styling technology. Featuring a Digital Intelligent Temperature Display with three heat and speed settings plus a cool blast feature to set your look.
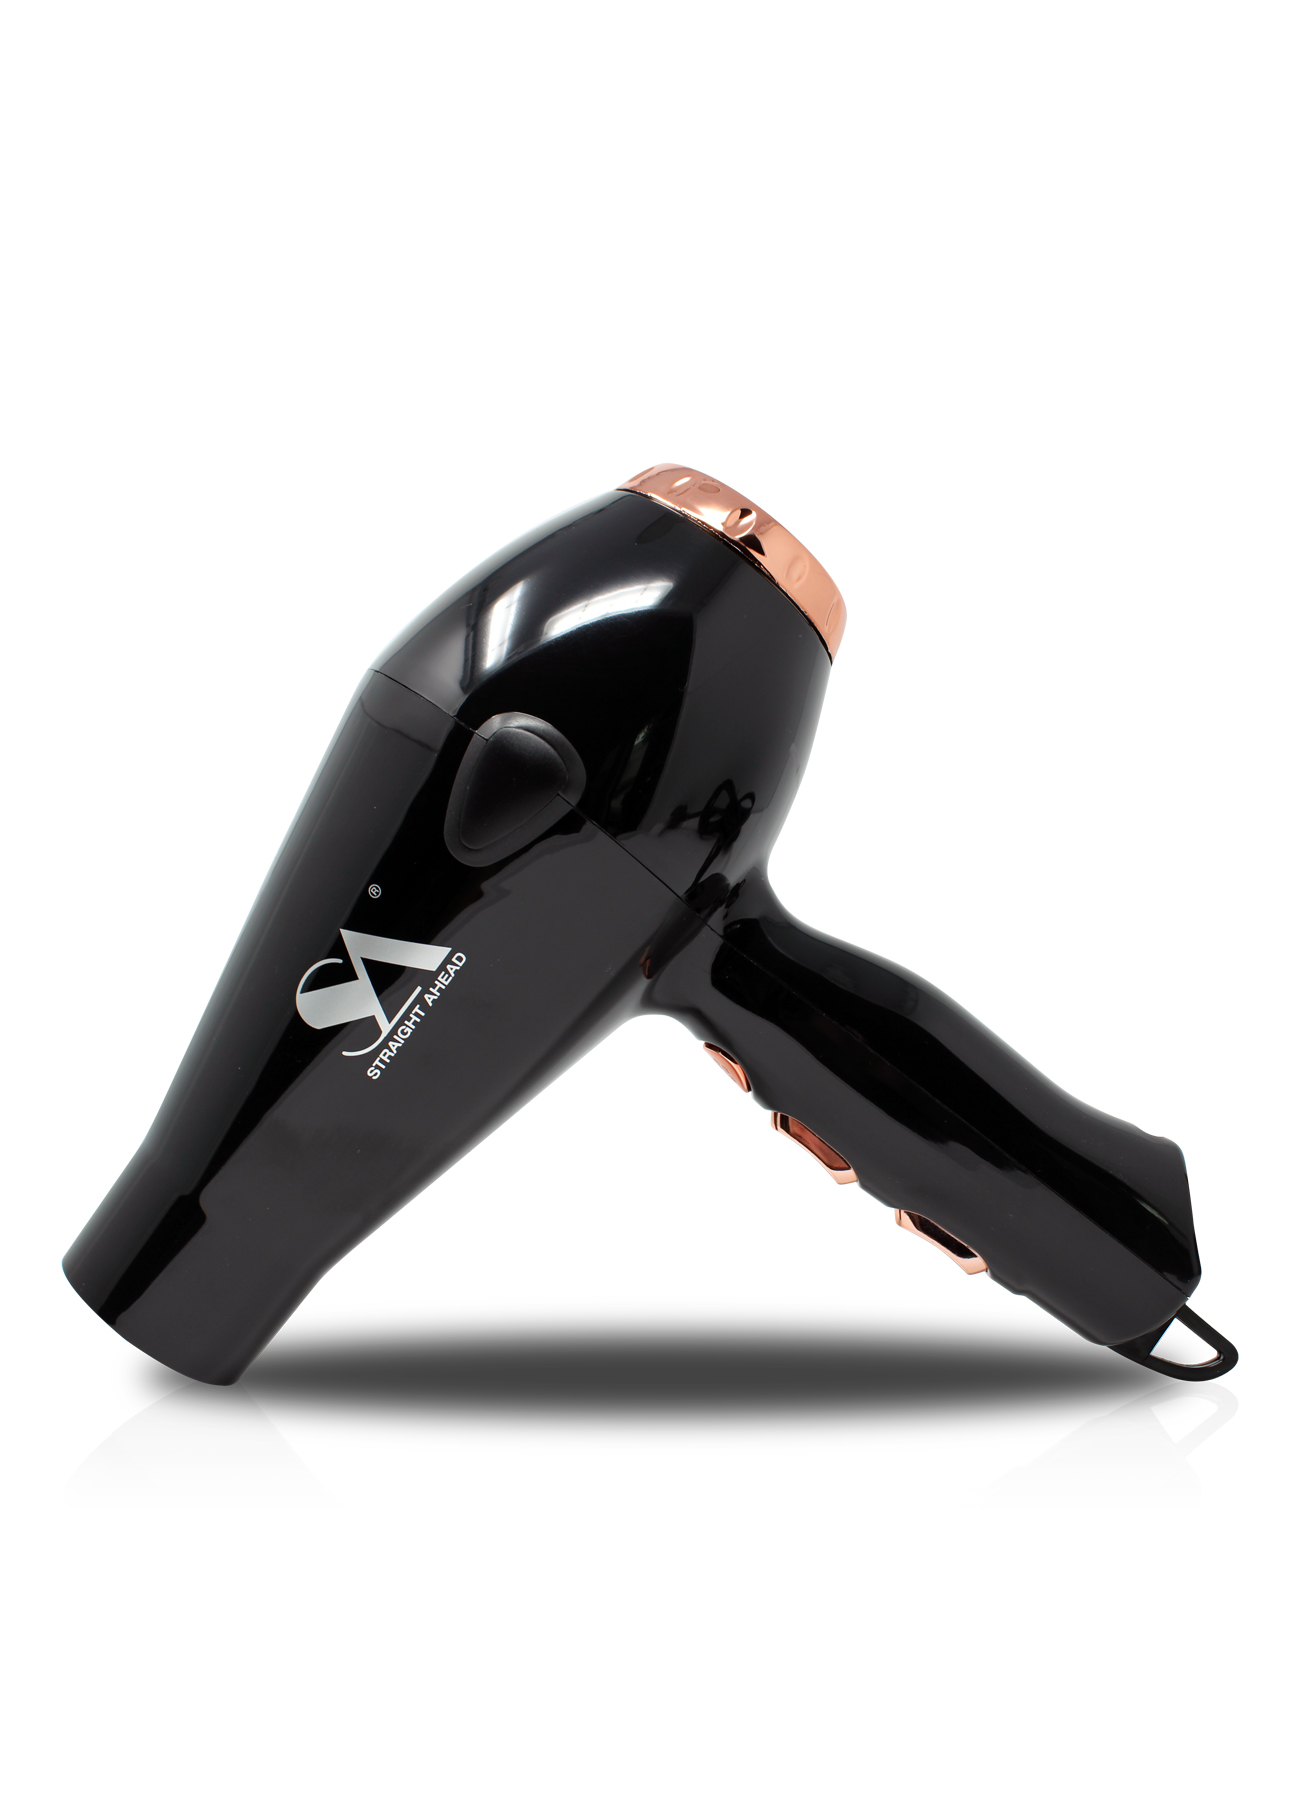
3800 Turbo Infrared Blow Dryer
$485.00SA’s revolutionary 3800 Turbo Infrared blow dryer real Far Infrared light to gently penetrate your hair, helping to reduce oil levels and increase shine, decrease drying time, lock in moisture and reduce damage.

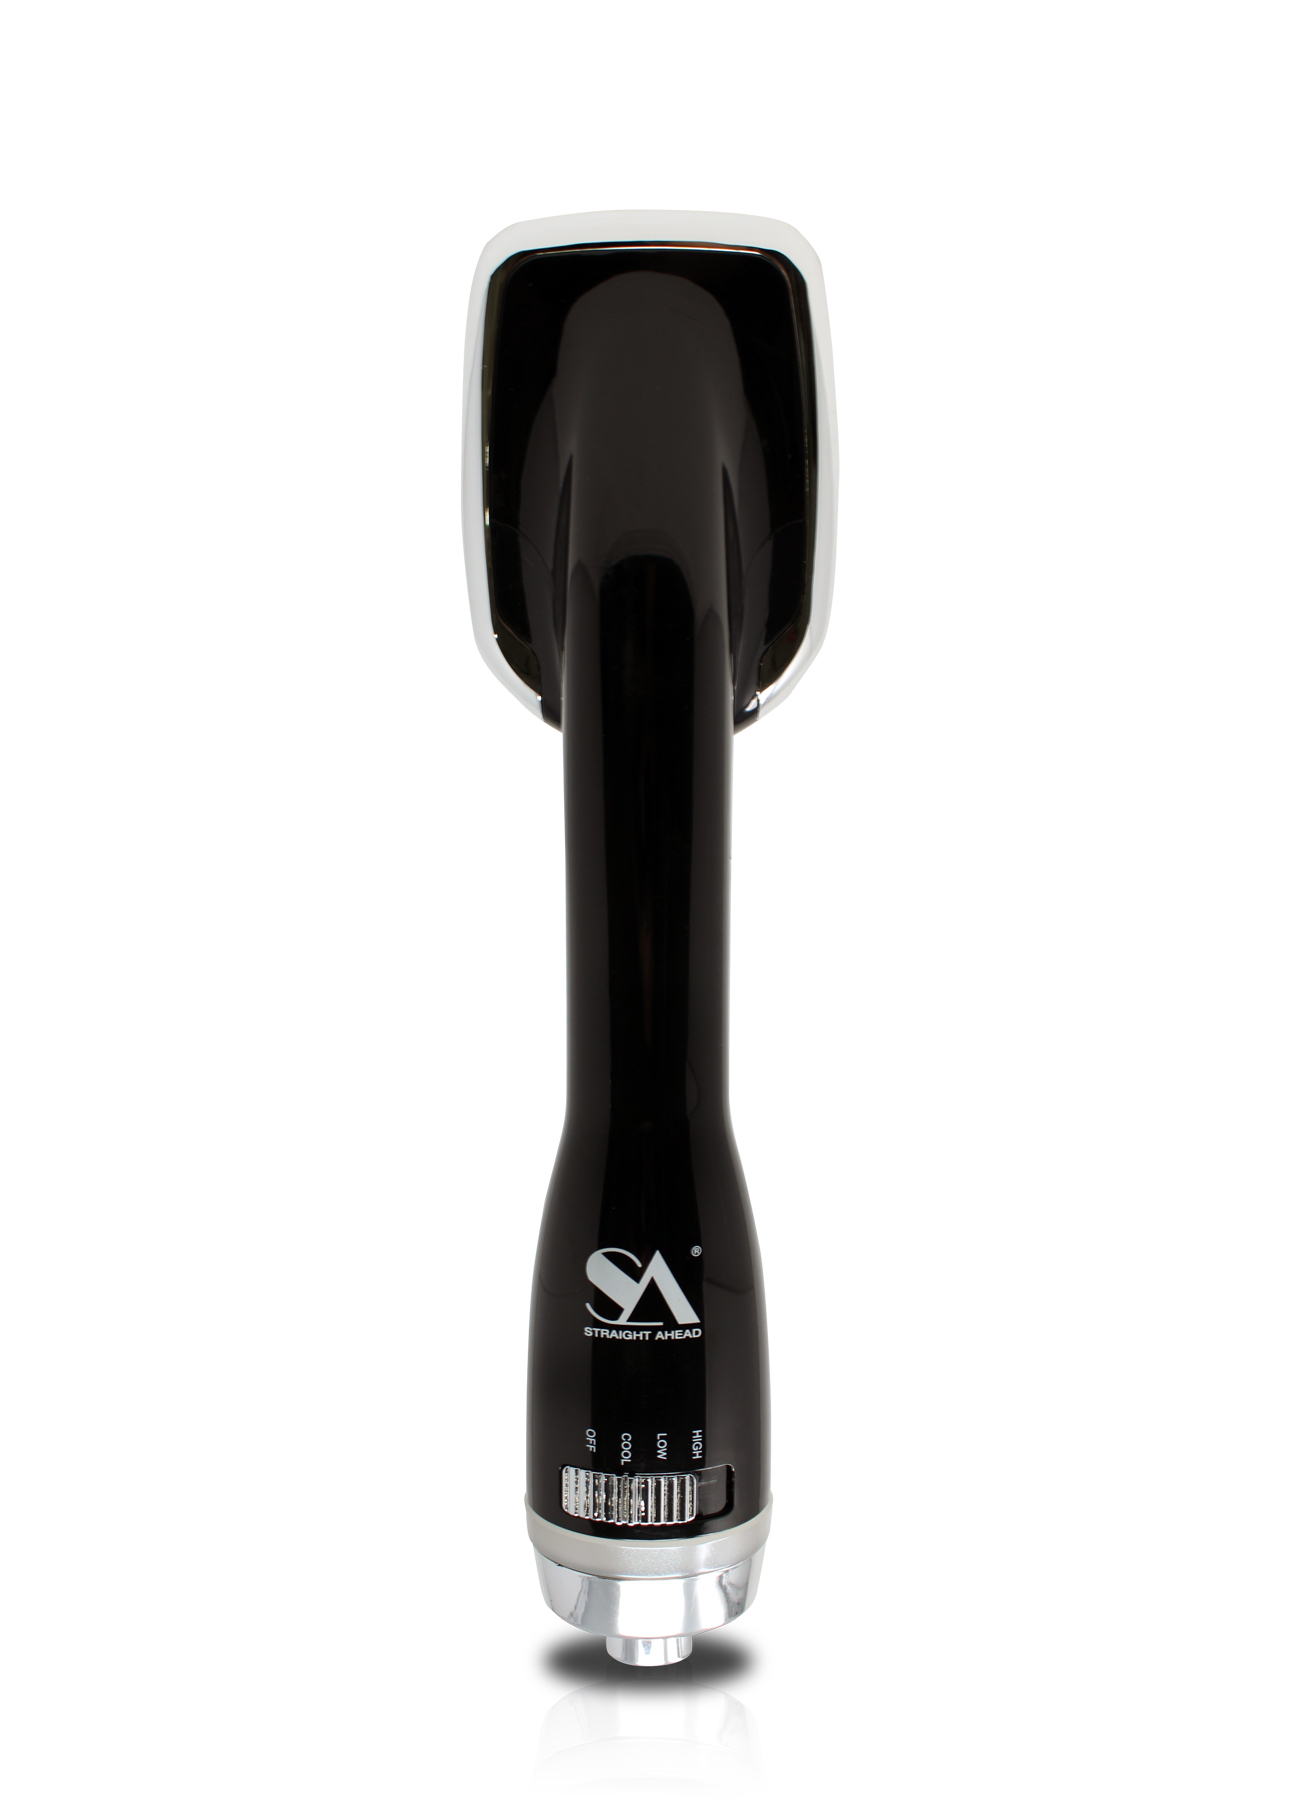
Air Styler
$450.00With the Air Styler you can now enjoy one pass drying and styling in the comfort of your own home or on the go.
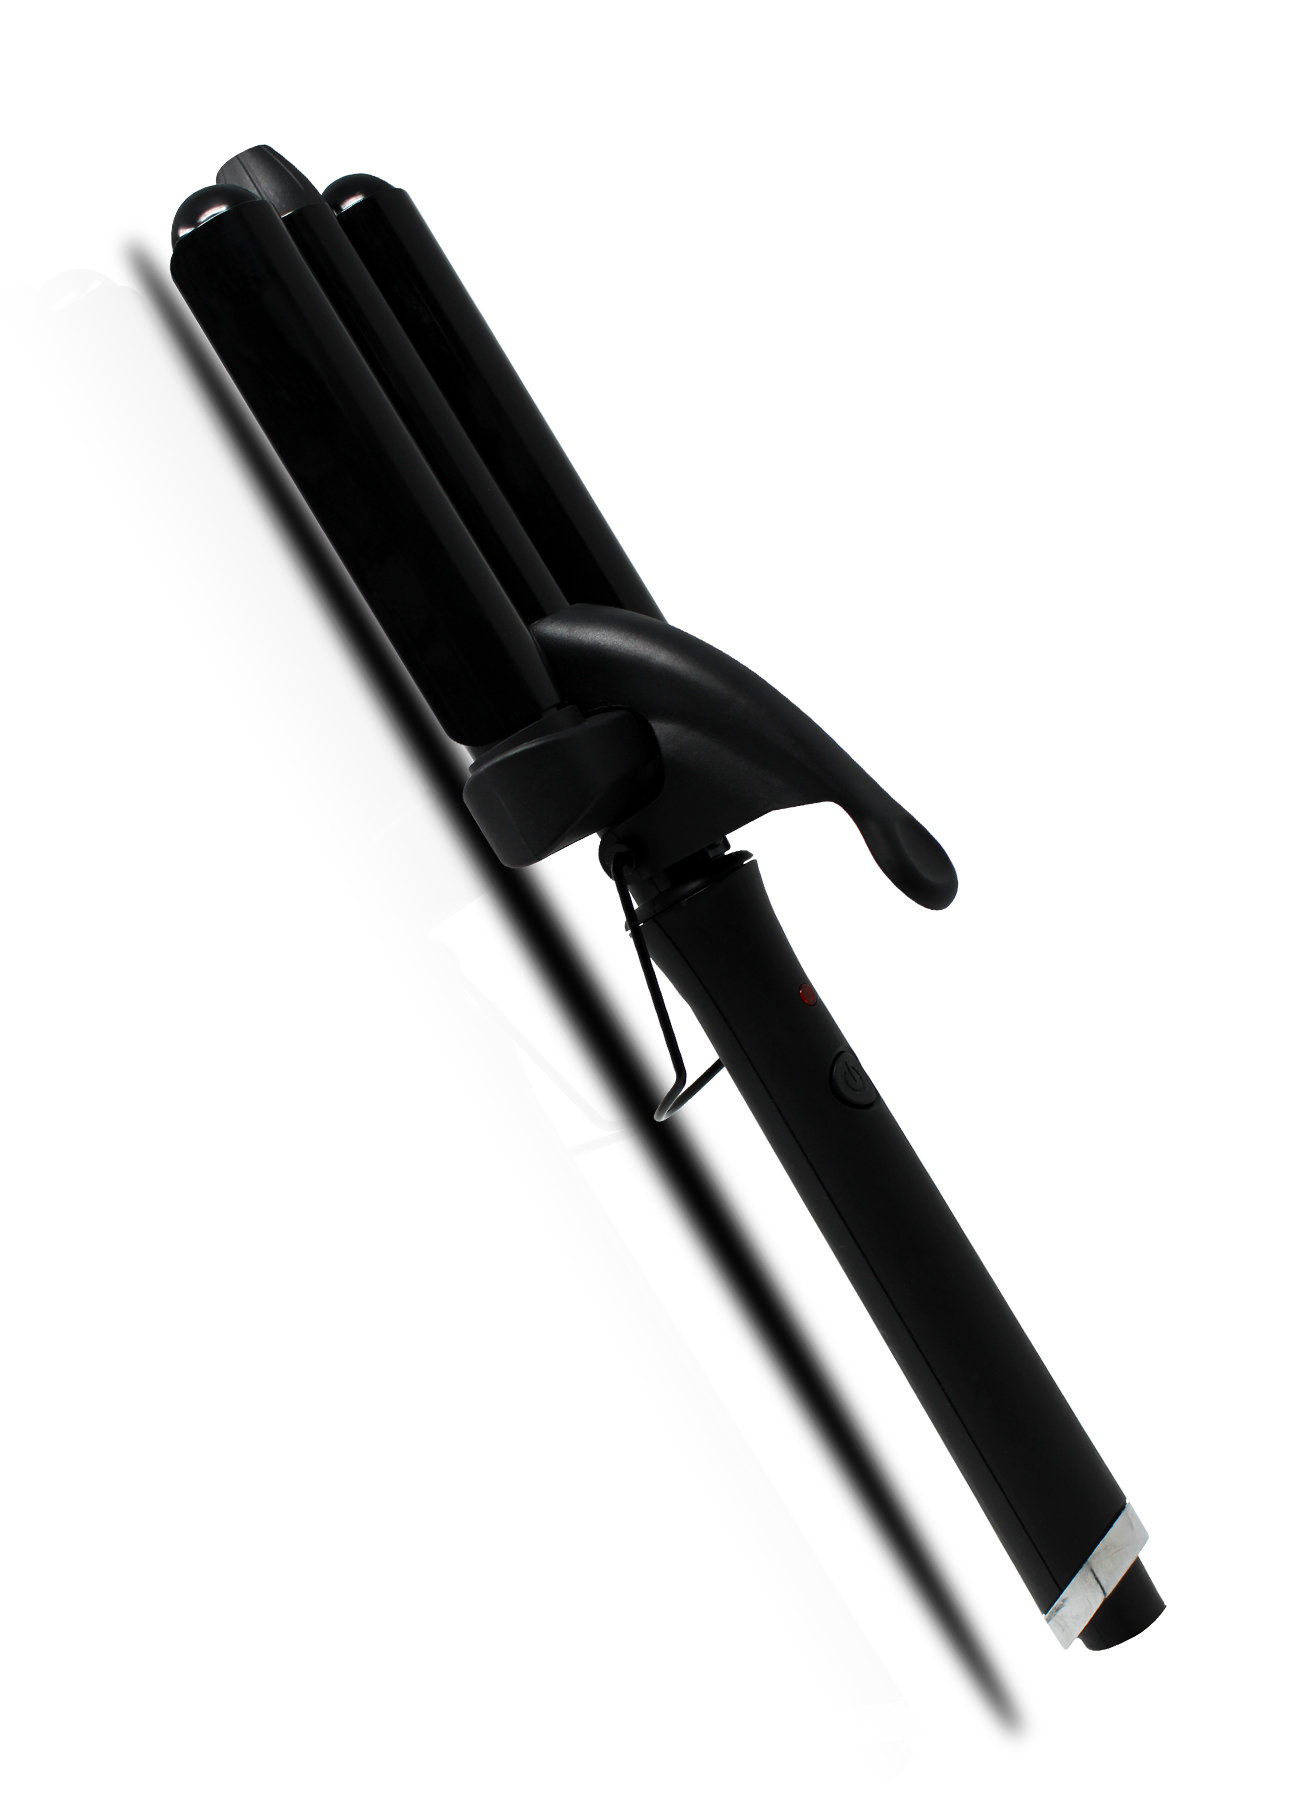
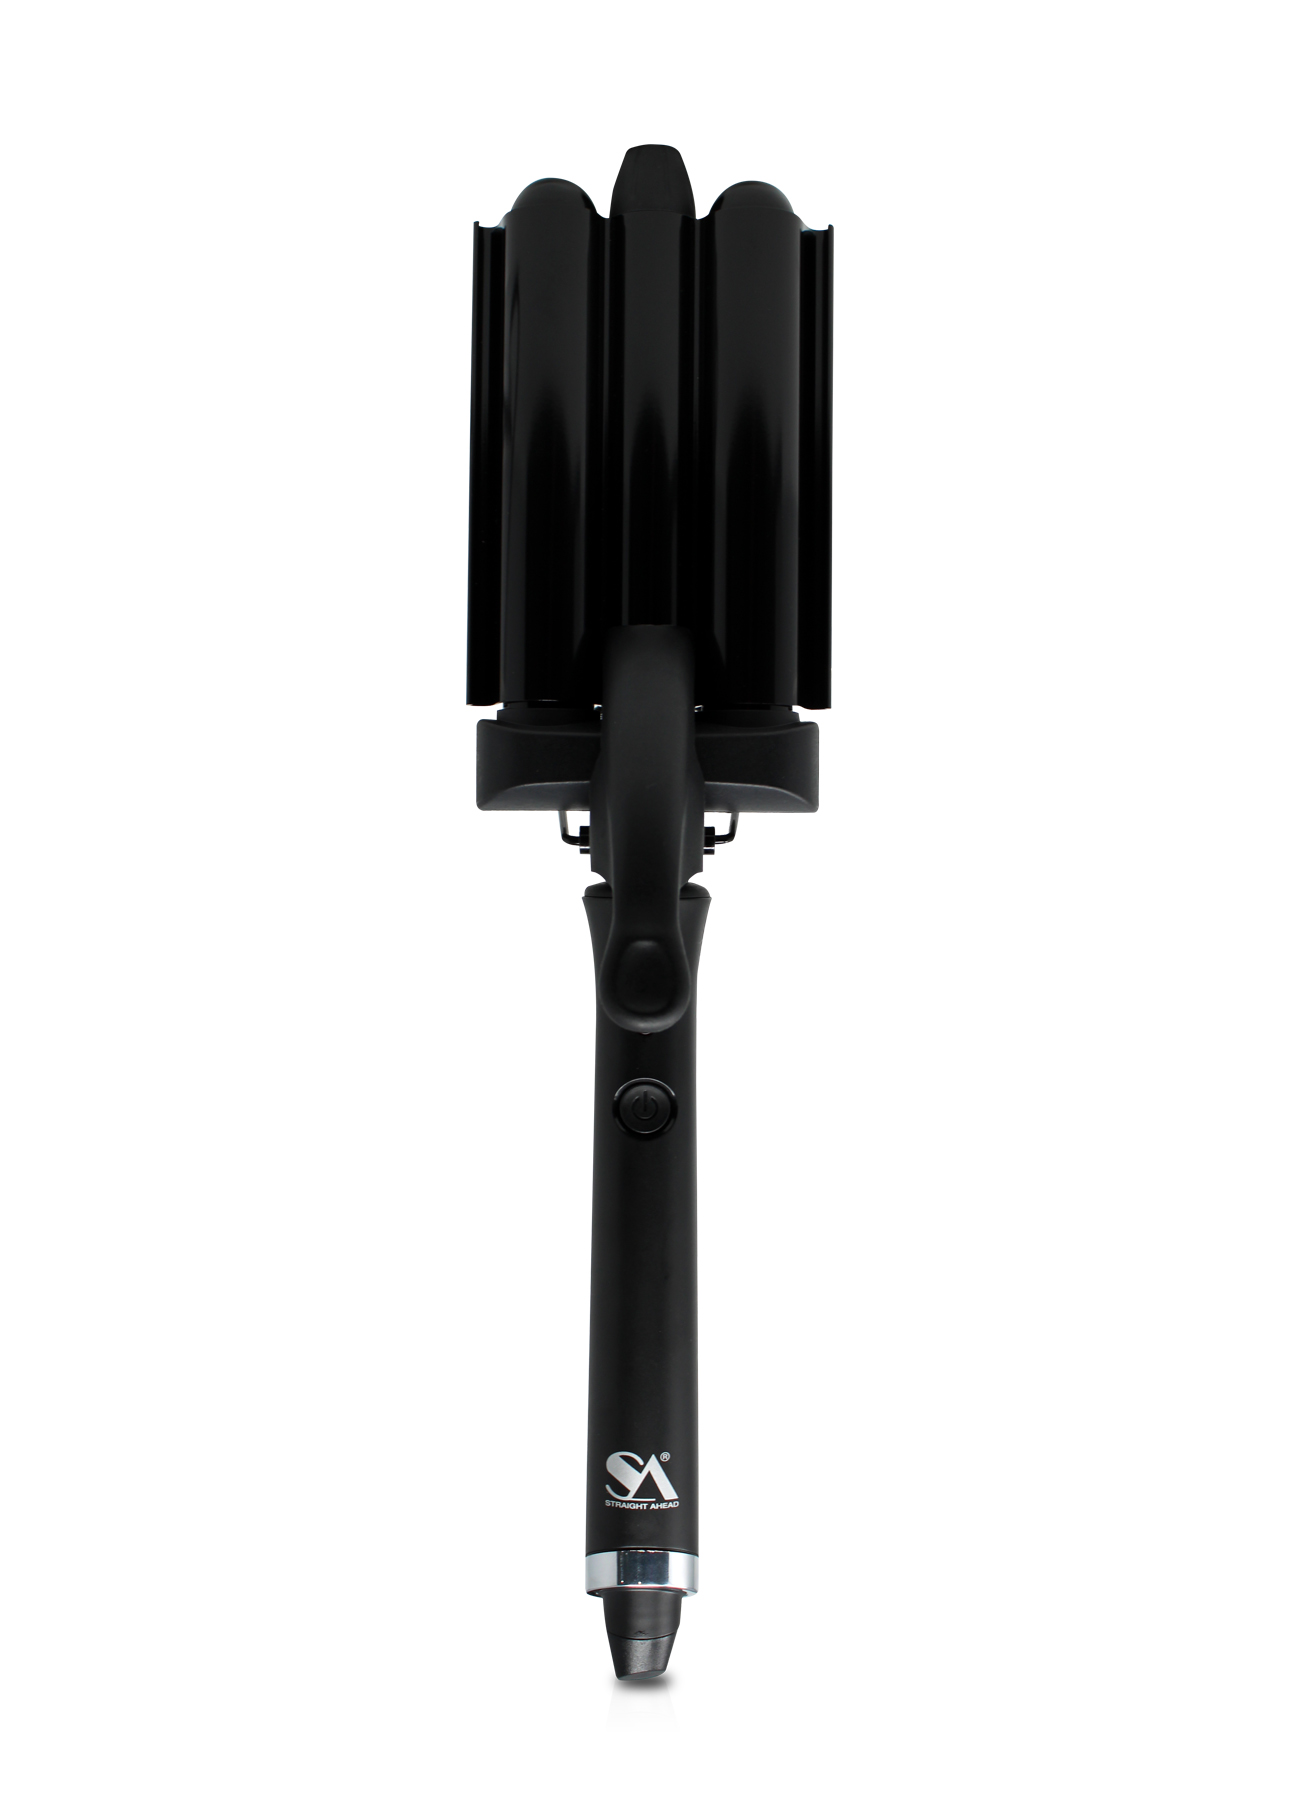
Mermaid
$395.00The Mermaid is the perfect tool for effortlessly creating those naturally alluring beachy waves.

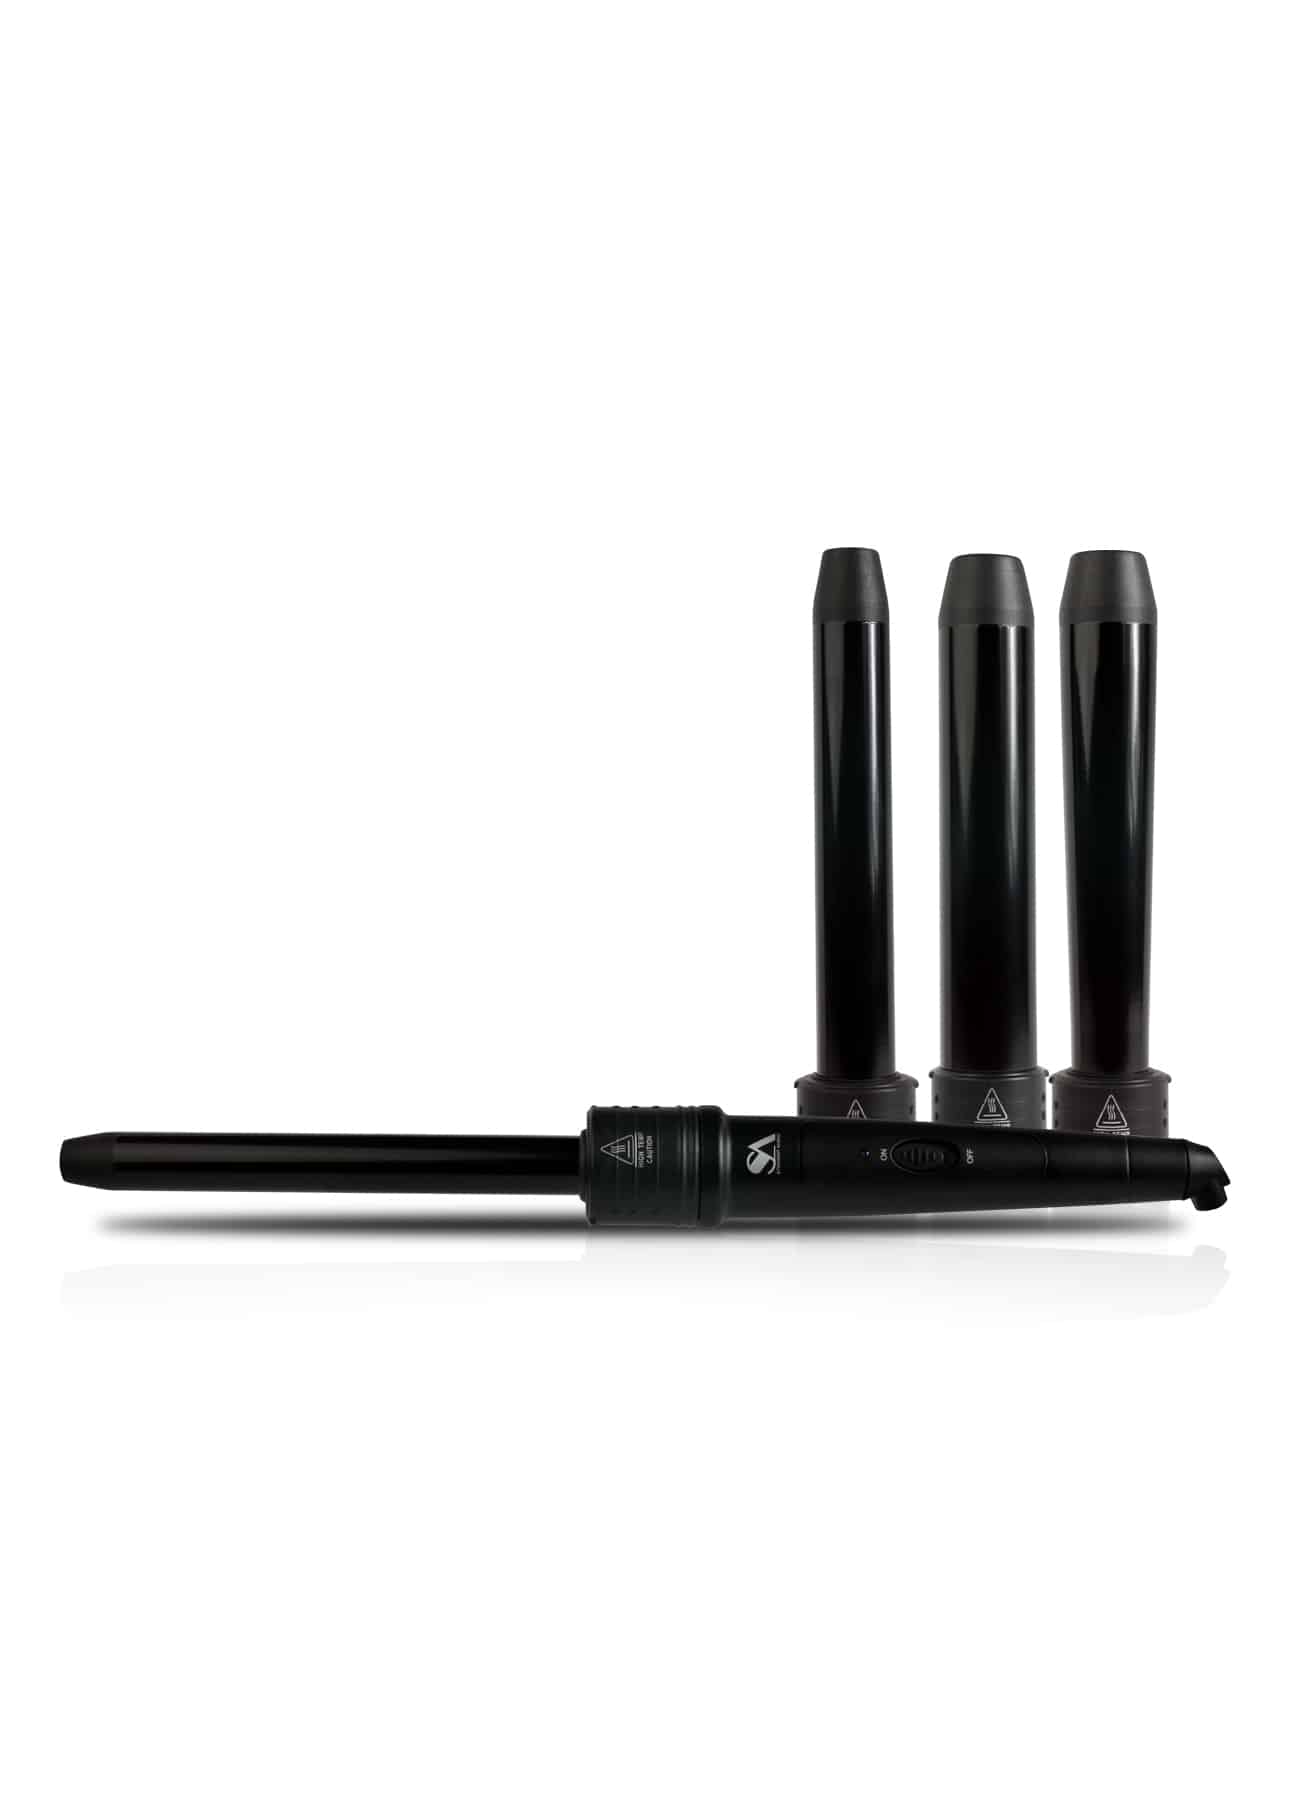
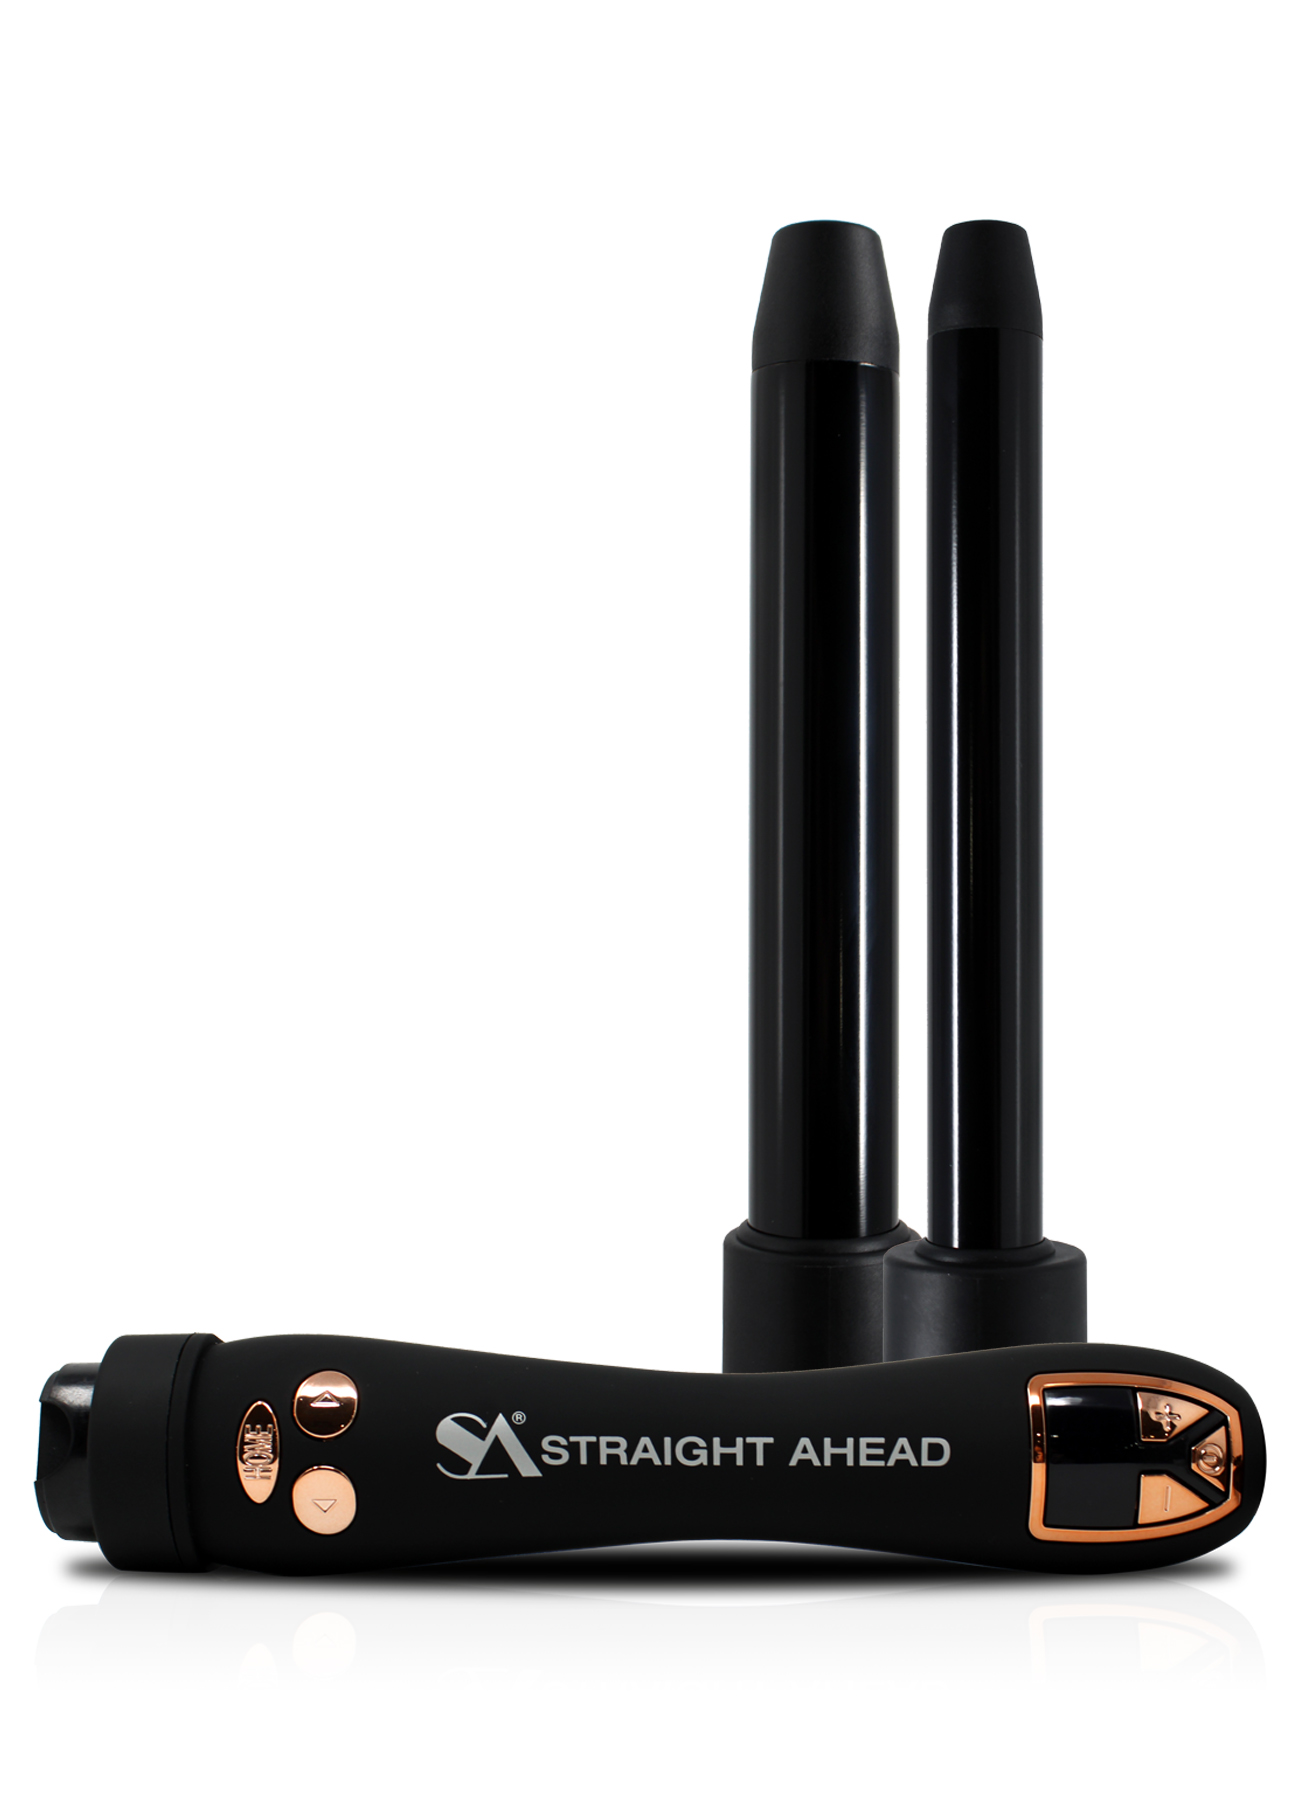
Pro Styling Wand Set
$500.00SA’s Pro Styling Wand Set opens up a new world of styling options. Effortlessly create any style or shape you crave from glamorous red-carpet curls to voluminous beachy waves. This easy to use clip free system is the next level in styling technology.
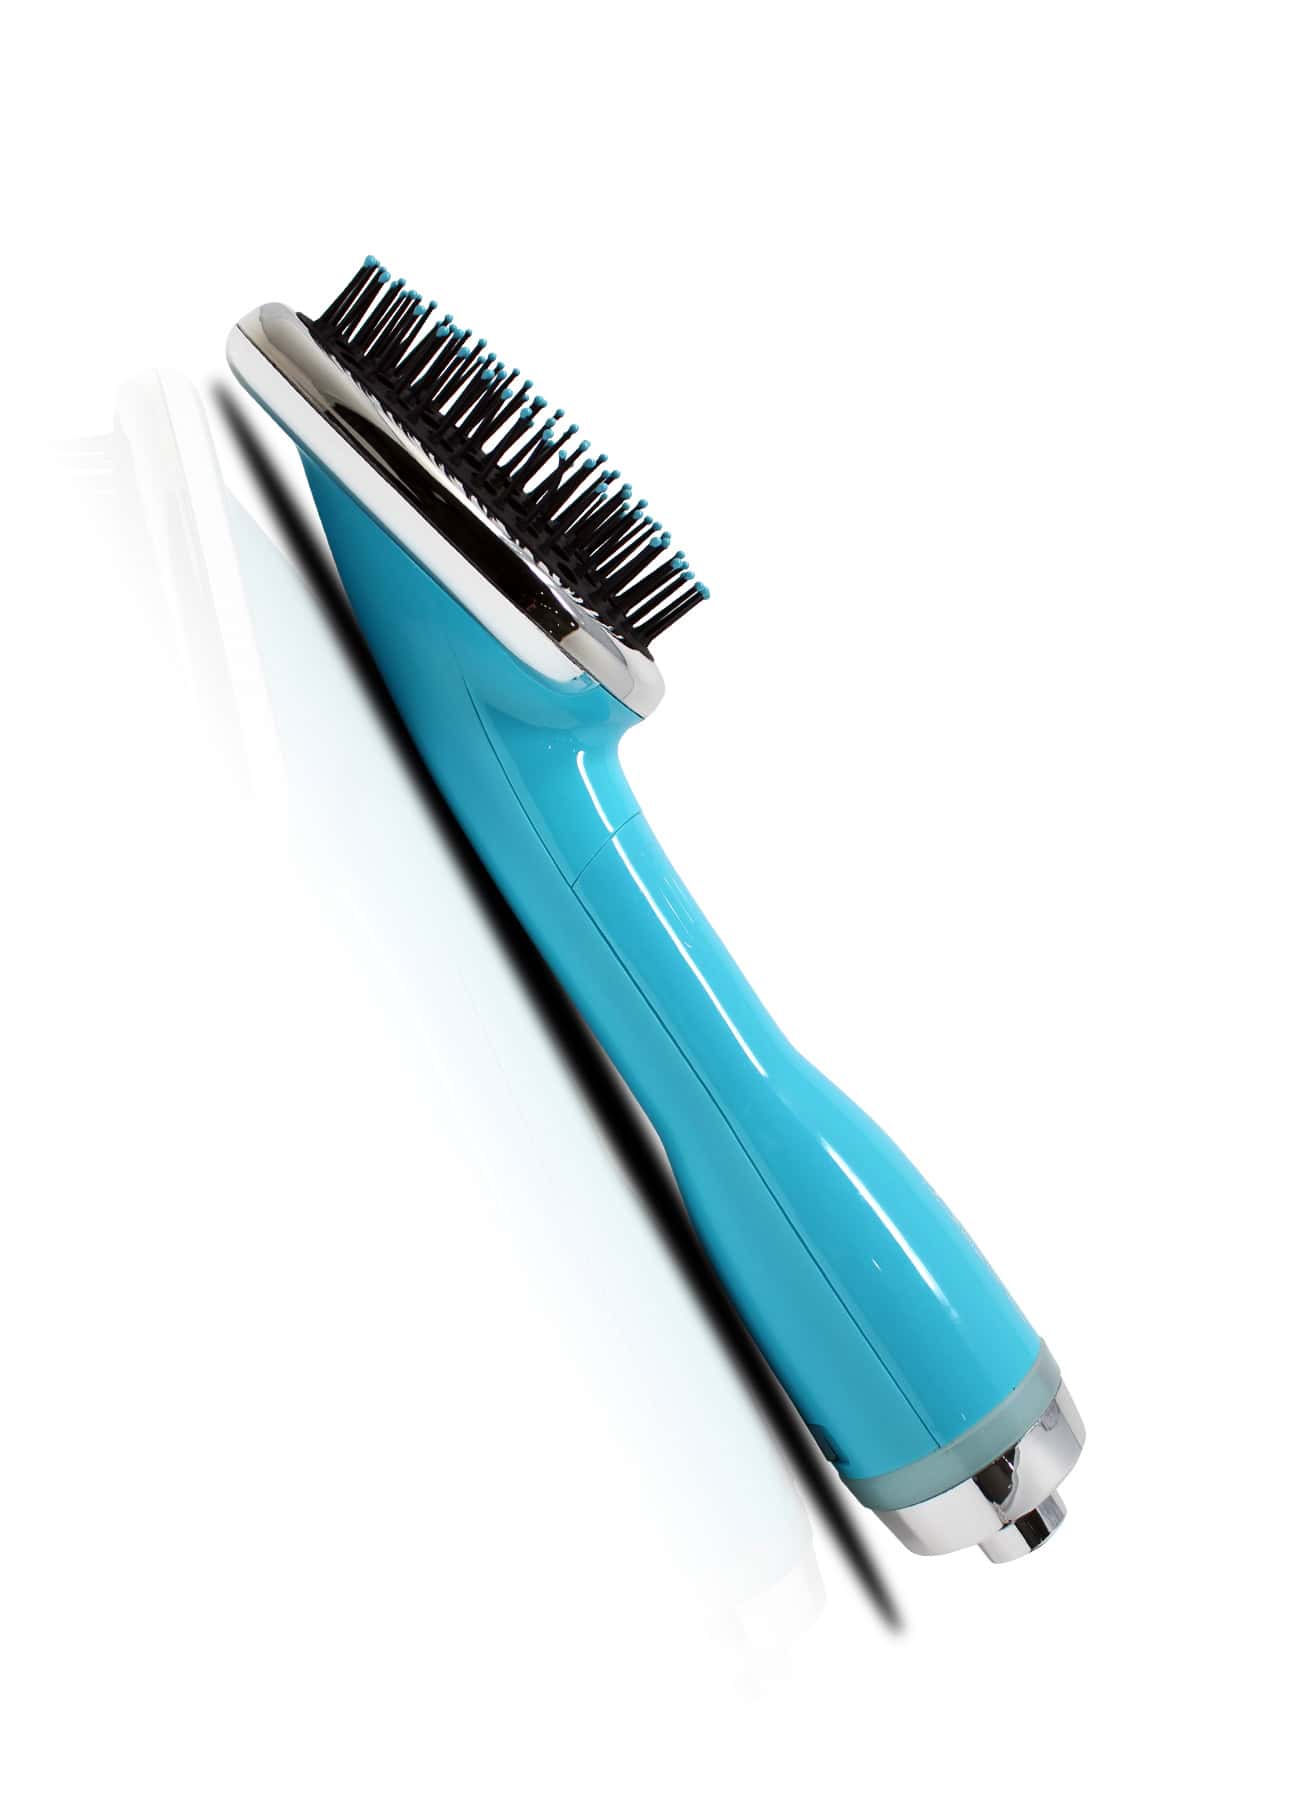
Volumizer Pro
$450.00Our new Volumizer Pro is taking hair styling to the next level! This lightweight, ergonomically designed blow dryer brush dries and styles hair in the half the time.


Detangle Brush
$45.00This ergonomically designed detangling brush glides through wet or dry hair without pulling, pain, or hair loss.
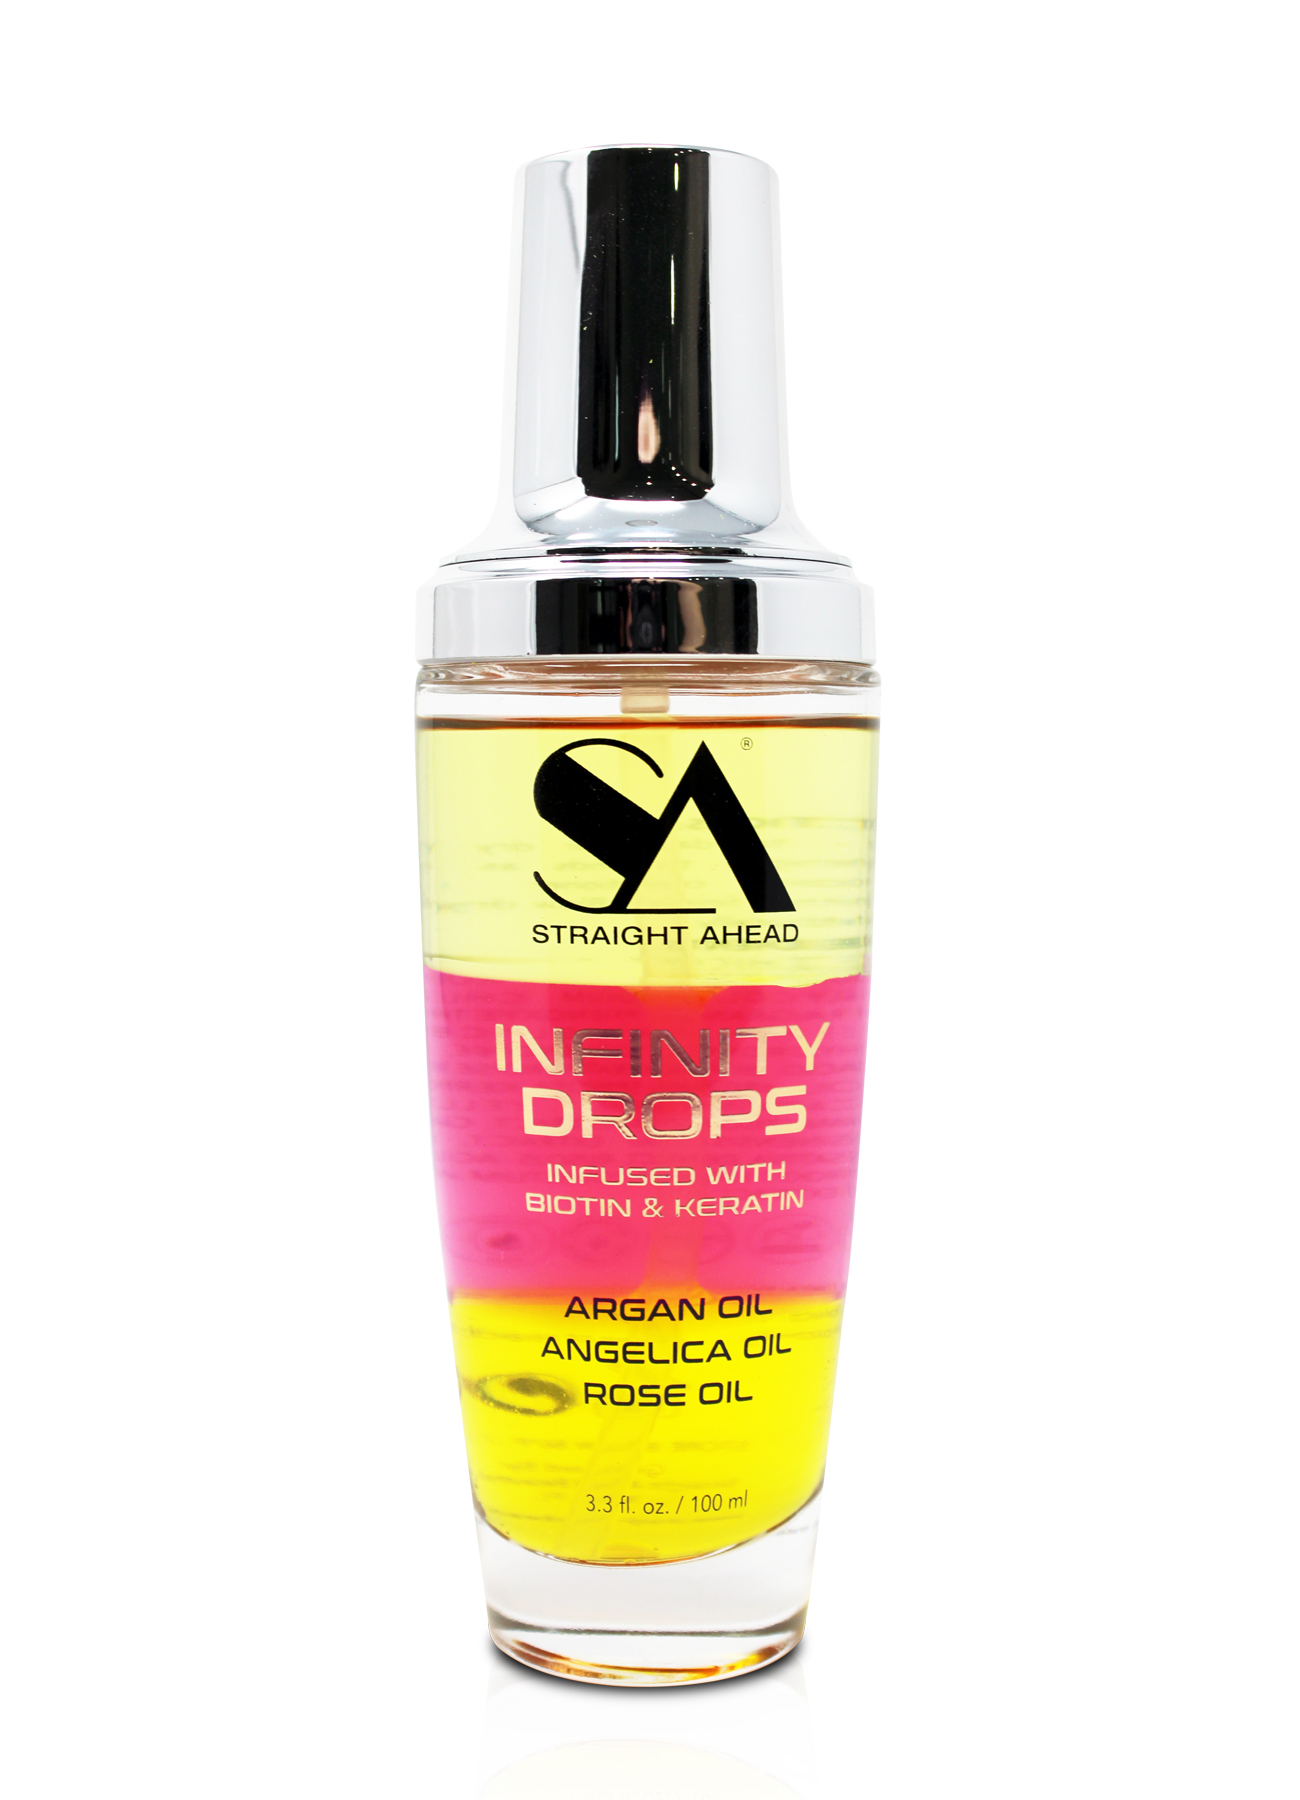

Infinity Drops
$250.00Inspired by a strong desire to bring strength, moisture and silkiness to hair we developed our hydrating Infinity Drops.
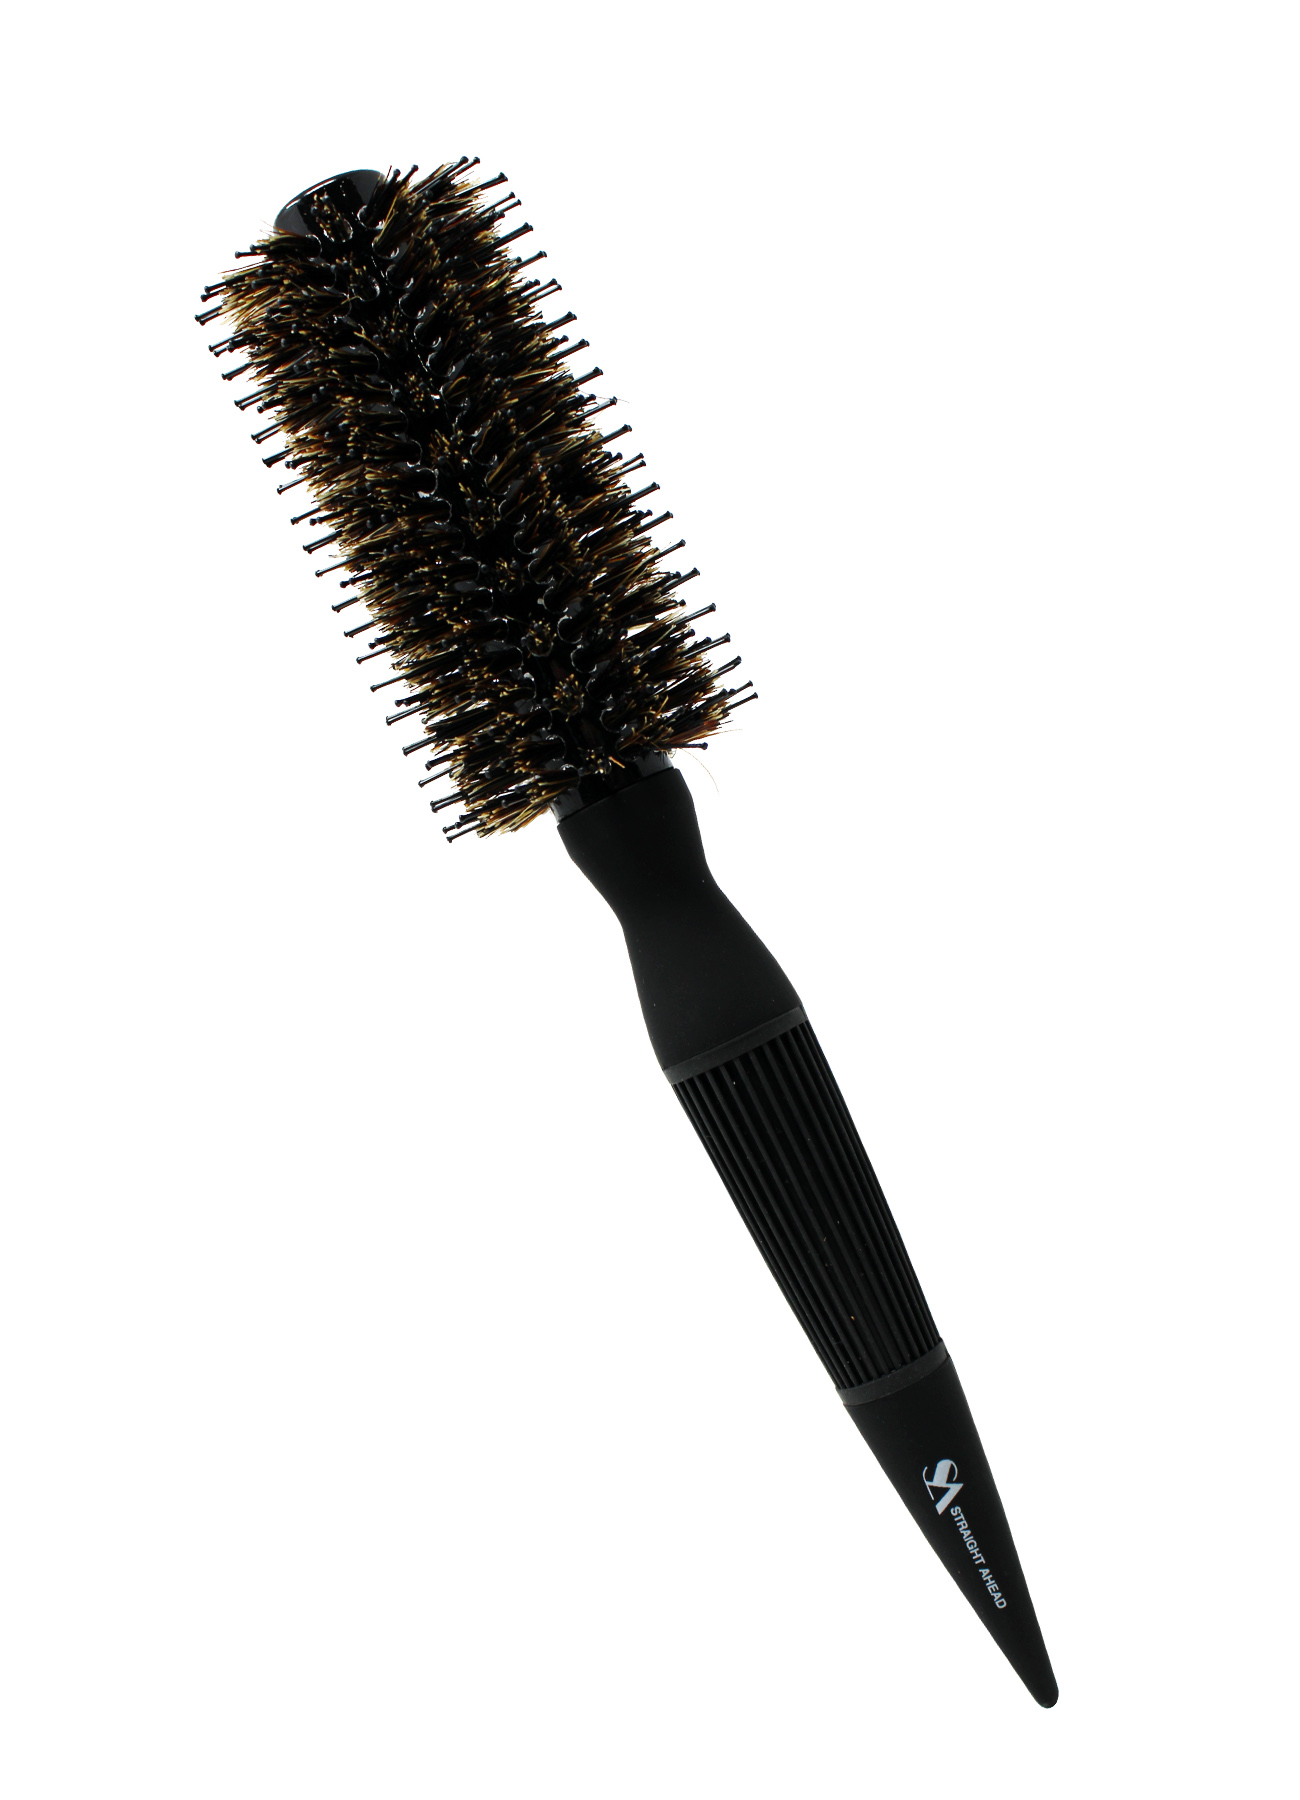
Miracle Round Brush 25-19mm
$40.00The Miracle Round Brush features a ceramic coated barrel along with a lightweight design and comfort grip handle to help make styling quicker and more efficient.


Revitalizing Moroccan Hair Serum Infused with Argan Oil, Keratin & Biotin
$250.00Straight Ahead Beauty’s Revitalizing Moroccan Hair Serum infused with Keratin, Biotin, Argan Oil and Vitamins A & C has been designed with no preservatives to help dry, lifeless hair come back to life!


Sweet Fantasy Hair Perfume
$200.00Highly addictive and seductively intoxicating, Straight Ahead Beauty’s Sweet Fantasy Hair Perfume was developed to bring infectious energy forth into the world.