Blow Drying Mistakes

It may seem like an easy task: grab a blow-dryer, point, and blast with heat. But there is a mastery behind it. And you may be making simple mistakes that are actually hurting your hair even more than your look. Here, are some tips to getting a gorgeous at-home blowout every single time.

The Tool Makes All The Difference

Let’s start at the very beginning: Investing in a high-quality tool is important, especially if you have a lot of hair or you’re blow-drying your hair often. If you have thick hair, you’re probably damaging your hair more with a cheap blow-dryer as opposed to investing in a great one that will protect your hair and blow-dry it quicker.

Expensive dryers tend to come with hair-saving smart features like high power, multiple heat settings, a cool shot, and ionic air technology. The last one helps with frizz, creates shine, and minimizes blow-dry time. The technology in ionic hair dryers helps break down water molecules faster, which makes the hair dry faster. The less time your hair is under heat and the more control you have over the temperature, the healthier it will be.

You Hair Is Wrapped Up Too Long

A cotton-based towel causes friction on the hair, and it’s more prone to damaging the strands to the point where the hair breaks off. If you want to get rid of excess water, try using a microfiber towel or an old, clean t-shirt. And still, only spend about 10 minutes with your head wrapped up post-shampoo.The best thing for your hair’s health is actually letting it air-dry before blow-drying.

Make sure to dry your hair according to your texture. Fine-to-medium hair can air-dry a bit longer, to about 80 percent dryness, whereas thicker hair should only be about 50 percent dry before blow-drying. That’s because you have a better chance of getting curly or full hair straight while it’s still a little damp.

If you have curly or wavy hair and want to enhance your natural texture, add product when it’s very wet, squeeze out the excess with your hands, and wrap it up gently in a microfiber towel or t-shirt. Once your curls stop dripping, you can start blow-drying.

Starting With The Brush Too Soon

On the opposite side of the 30-minute towel turban faux paus is taking a round brush to sopping wet hair. It’s bad form to immediately walk out of the shower and pick up your blow-dryer and round brush for a blowout. Try using a dryer to rough dry hair first. Set it to medium heat and low speed. If hair is very wet and put on high speed, then it gets whipped around a lot. This can cause split ends, tangles, and frizz. Once hair is about 80 percent dry from the rough dry, then you can start sectioning it, molding it, and styling it with a round brush.

Forgetting To Use Heat protectant

Using the right product pre-blowout is going to save your ends from breakage and make your blowout last longer. But make sure you’re applying it correctly. When some people use a serum for frizzy hair or a thickening spray for volume, they just spray the top of their hair, instead of all around. Sometimes you just forget the back of your hair.

Try parting the hair, creating sections, and working the product from mid-shaft to ends. You can also comb it through.

Ignoring The Concentrator Nozzle

You know that flat, nozzle thing that attaches to the end of your hair dryer? Don’t lose it! That little nozzle helps concentrate the air in a more precise way and protect hair from excess heat, which is better for hair health and styling.

The nozzle provides distance between the hair and the lip of the dryer, which is the hottest point. Additionally, the nozzle keeps the air flow concentrated, and without it, the hot air disperses, causing undesirable frizz.

Even if you’re not going for a sleek style, it is important to attach the nozzle—no matter how lazy you feel. If you’re just a ‘rough dry and go’ girl, you should still utilize the smoothing capabilities of the concentrator. It helps streamline the airflow leading to less tangles and split ends. That means fewer haircuts.

Not all nozzles are created equal. Look for thinner nozzles—that way, it’s more direct. The thinner nozzle will help blast hot air directly to the roots and get more volume in your styles.

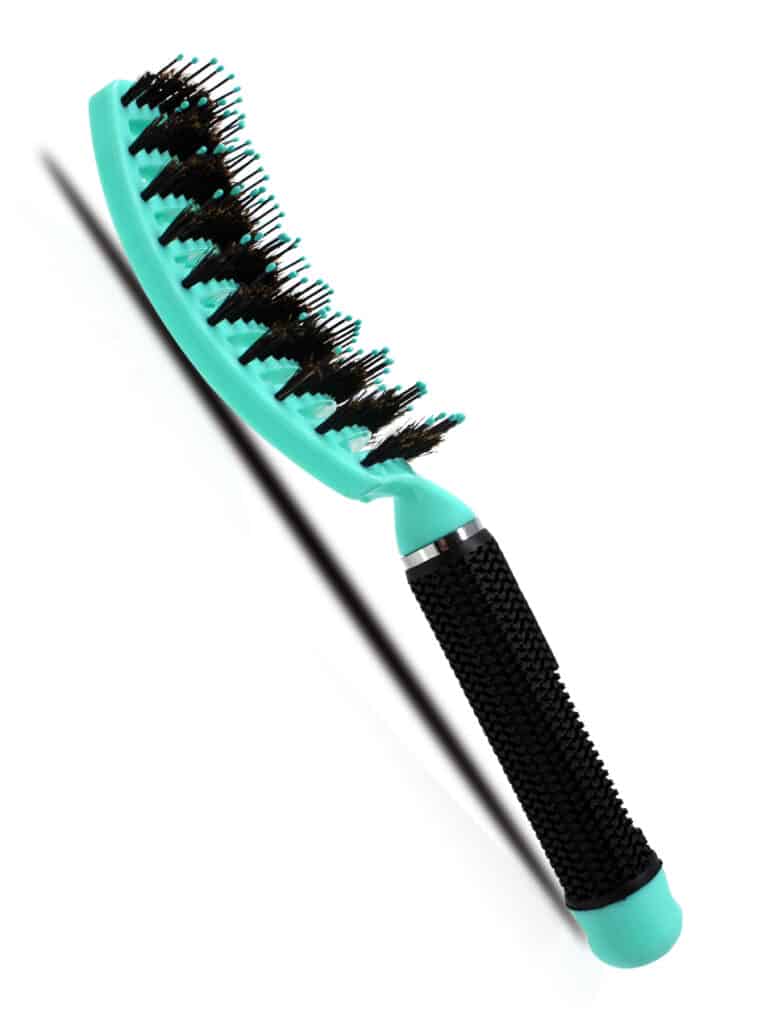
When it comes to choosing a brush, the type you use should depend on the results you’re looking for and your hair type. Typically, a round brush is the stylist favorite for a voluminous, bouncy look. But you have choices when it comes to the material of the bristles. For women with straight hair who want movement, ceramics are fantastic. For women who want smoothness but have coarse, frizzy hair, boar bristle is key to provide the right amount of tension needed to achieve that smoothness.

You Start Drying From The Back Of The Head

Many women make the mistake of starting their blowout from the back of the hair. It’s better to start at the temples, hairline, and crown then move backwards to the nape. That way you tackle the most visible parts first.

And if you have bangs, we’re definitely talking to you. The front of hair tends to be the most challenging to smooth—think cowlicks and short wisps—and is also the most visible part of your style. By starting from the back, your hairline is bound to get frizzy, so get the tough part done first.

Not Giving Enough Attention To The Roots

Lifting from the roots is key if you want more volume. If you don’t have a lot of time or you’re not a professional and you want volume, a great tip is to flip the hair upside down and brush it so that your roots are going the opposite direction. Do this while adding a final blast of heat with the blow-dryer. You can also use a wide-tooth comb or your hands.

If you want extra volume at the crown, you can set the top of the head with larger rollers. Put in the rollers while the hair is still warm from the blow-dryer. Pin it up with a bobby pin, and let it cool so you get the most full volume and a nice wave.


Ref: www.self.com

DIY Oils For Gray Hair

Discovering your first gray hair can be almost as intense as dealing with heartbreak. Your life seems to slow down around you as you stare at that first white strand of hair that sprouted out where a beautiful colored one used to sit.

Dealing with grays is something all of us will have to do eventually. If you want to slow down the graying process and treat your hair to some homemade TLC, We’ve compiled a list of some excellent DIY hair oils that can help you eliminate gray hair naturally.


Amla Powder & Coconut Oil

You Will Need:

  • 2 teaspoons Amla Powder
  • 3 tablespoons Cold-Pressed Coconut Oil

Method:

  1. Mix the ingredients in a small saucepan and heat until the powder starts to char.
  2. Let the oil cool until it is warm enough to touch.
  3. Apply the oil on your scalp and hair. Massage your scalp for a few minutes.
  4. Leave the oil in for at least an hour. You can also leave it in overnight.
  5. Wash off with shampoo and then condition.
  6. Repeat this 2-3 times a week.

Precautions:

  • Handle the hot oil with care as it will be extremely hot.
  • Do not heat the oil past 350 degrees Fahrenheit as this will cause it to lose its nutritional value.

Benefits:

Amla contains high amounts of vitamin C which is essential for healthy hair growth, owing to its collagen-boosting abilities. It also contains antioxidants that keep the hair follicles healthy by fighting away damage causing factors. A healthy follicle is better equipped at producing healthy and pigmented hair.


Curry Leaves & Coconut Oil

You Will Need:

  • A handful of Curry Leaves
  • 3 tablespoons Cold-Pressed Coconut Oil

Method:

  1. Heat the curry leaves and coconut oil in a small saucepan until you see a black residue forming.
  2. Turn off the flame and let the oil cool.
  3. Apply the oil to your scalp and hair.
  4. Massage your scalp well and leave the oil in for at least an hour.
  5. Wash with shampoo and then condition.
  6. Repeat this 2-3 times a week.

Precautions:

  • Stand away from the oil while you heat it as the moisture from the curry leaves may cause it to splutter.
  • Let the oil cool before you touch it to avoid burns.
  • Do not heat the oil past 350 degrees Fahrenheit.

Benefits:

Curry leaves help restore melanin, the pigment that gives your hair its natural color, in the hair follicles. It is also rich in vitamin B which is vital for hair growth. The mixture of curry leaves and coconut oil for grey hair makes your hair strong and restores elasticity.


Coconut Oil & lemon

You Will Need:

  • 2 teaspoons Lemon Juice
  • 2 tablespoons Cold-Pressed Coconut Oil

Method:

  1. Heat the coconut oil for about a minute until it is warm.
  2. To the oil add the lemon juice and start applying it to your scalp and hair.
  3. Leave it in for 30 minutes.
  4. Shampoo and condition.
  5. Repeat this twice a week.

Precautions:

  • Do not overheat the coconut oil.

Benefits:

Lemons are rich in vitamins B, C, and phosphorus. These vitamins and mineral are vital for maintaining the health of the pigment cells that are present in your hair follicles. While lemon juice keeps your follicles healthy, coconut oil provides them with nourishment to produce healthy, pigmented hair.


Mustard Oil & Castor oil

You Will Need:

  • 1 tablespoon Castor Oil
  • 2 tablespoons Mustard Oil

Method:

  1. Combine the oils and heat them for a few seconds until they’re warm.
  2. Apply the warm oil to your scalp and hair.
  3. Massage your scalp for 10 minutes and let the oil sit for an additional 45 minutes.
  4. Wash your hair thoroughly with shampoo and then condition.
  5. Repeat this 2-3 times a week.

Precautions:

  • Do not overheat the oils you need it be slightly above room temperature.

Benefits:

Mustard oil contains zinc, calcium, iron, magnesium, and selenium. It is a rich source of minerals that keeps your scalp nourished while the high protein content of castor oil repairs and prevents damage. Proper nourishment is key is preventing grays. This oil blend will also speed up the rate at which your hair grows and improves hair health in terms of shine, smoothness, and strength.


Sesame Oil Blend

You Will Need:

  • 100mL Sesame Oil
  • 100mL Carrot Juice
  • 50g Fenugreek Seed Powder

Method:

  1. Combine all the ingredients in a bottle and shake to mix them.
  2. Leave the bottle out in the sun for 21 days.
  3. Shake the bottle and pour 2-3 tablespoons of the oil blend into a bowl for use.
  4. Apply the oil blend all over your scalp and hair and massage for 10-15 minutes.
  5. Shampoo and condition your hair.
  6. Repeat this before every wash for at least 3 months to see results.

Precautions:

  • Prepare batches well in advance so that you don’t run out of the oil blend before the next batch is ready.
  • Store in a cool, dry place

Benefits:

This sesame oil and carrot juice remedy is gaining a lot of popularity as a miracle cure for grays. Sesame oil has been known for a long time as an effective treatment for premature graying. It also helps darken the color of your hair.


Black Seed & Olive Oil

You Will Need:

  • 1 tablespoon Olive Oil
  • 1 tablespoon Black Seed Oil

Method:

  1. Mix the two oils in a bowl.
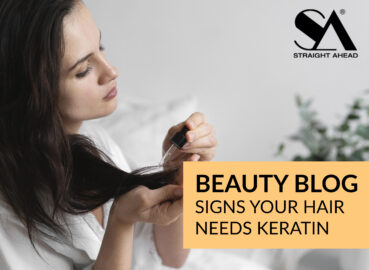
  2. Massage it into your scalp and apply the rest of the oil all through your hair.
  3. Leave it in for an hour and then wash the oil blend out with warm water.
  4. Repeat this every day.

  5. Precautions
  6. After the first week only use the oil blend thrice in a week as washing your hair every day will strip away its natural oils.

Precautions:

  • After the first week only use the oil blend thrice in a week as washing your hair every day will strip away its natural oils.

Benefits:

This black seed and olive oil combination has been in use for thousands of years to treat gray hair. Not only does this oil blend slow down the graying process, but it also effectively conditions and nourishes your hair, making it smooth and shiny.


Henna & Coconut Oil

You Will Need:

  • A bunch of Henna Leaves
  • 3-4 tablespoons Coconut oil

Method:

  1. Heat the coconut oil until it starts to boil. To this add your henna leaves.
  2. Let the oil heat until it starts to turn brown.
  3. Allow the oil to cool and then apply it to your hair and scalp.
  4. Leave it on for 45 minutes and then wash it off.
  5. Your grays will have turned to a dark shade of brown. Repeat this when the color starts to fade.

Precautions:

  • Stand at a safe distance from the oil while you heat it as it is likely to splutter.

Benefits:

If you have way too many grays, this is the best possible oil blend you could use to color them while giving your hair and follicles the nourishment they need. The penetrative properties of coconut oil will lock the color from henna into the shafts of your hair so that it won’t fade out easily.


Ref: www.stylecraze.com